Foodie Fridays: B’s 2 Ingredient Granola-Banana Cookies

Hello 🙂  There are so many 2 ingredient recipes floating around that make you think how easy it can be to whip something up!  I came across this website a few days ago and wanted to try somethings out. The ice-cream bread looks like a fantastic idea, I will definitely try it out in B’s Kitchen 🙂

Today, I wanted a healthy but easy snack (I’m recovering from a flu) boo-hoo! Hate having a flu!  Yes, I’m all rhyming today 🙂

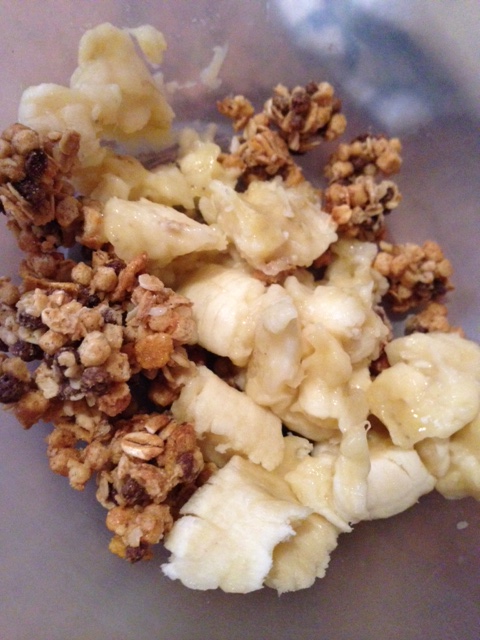
I used 1 banana and about 3/4 cup of granola.  EASY & VEGETARIAN!

Image

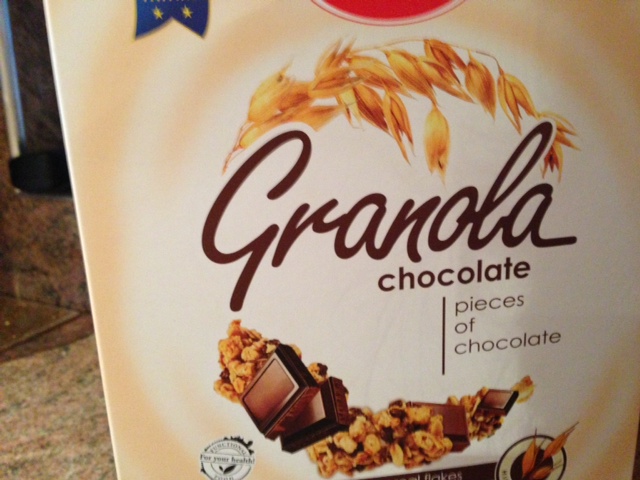
I used this granola as it had bits of chocolate.  I love the combination of chocolate and banana! 🙂

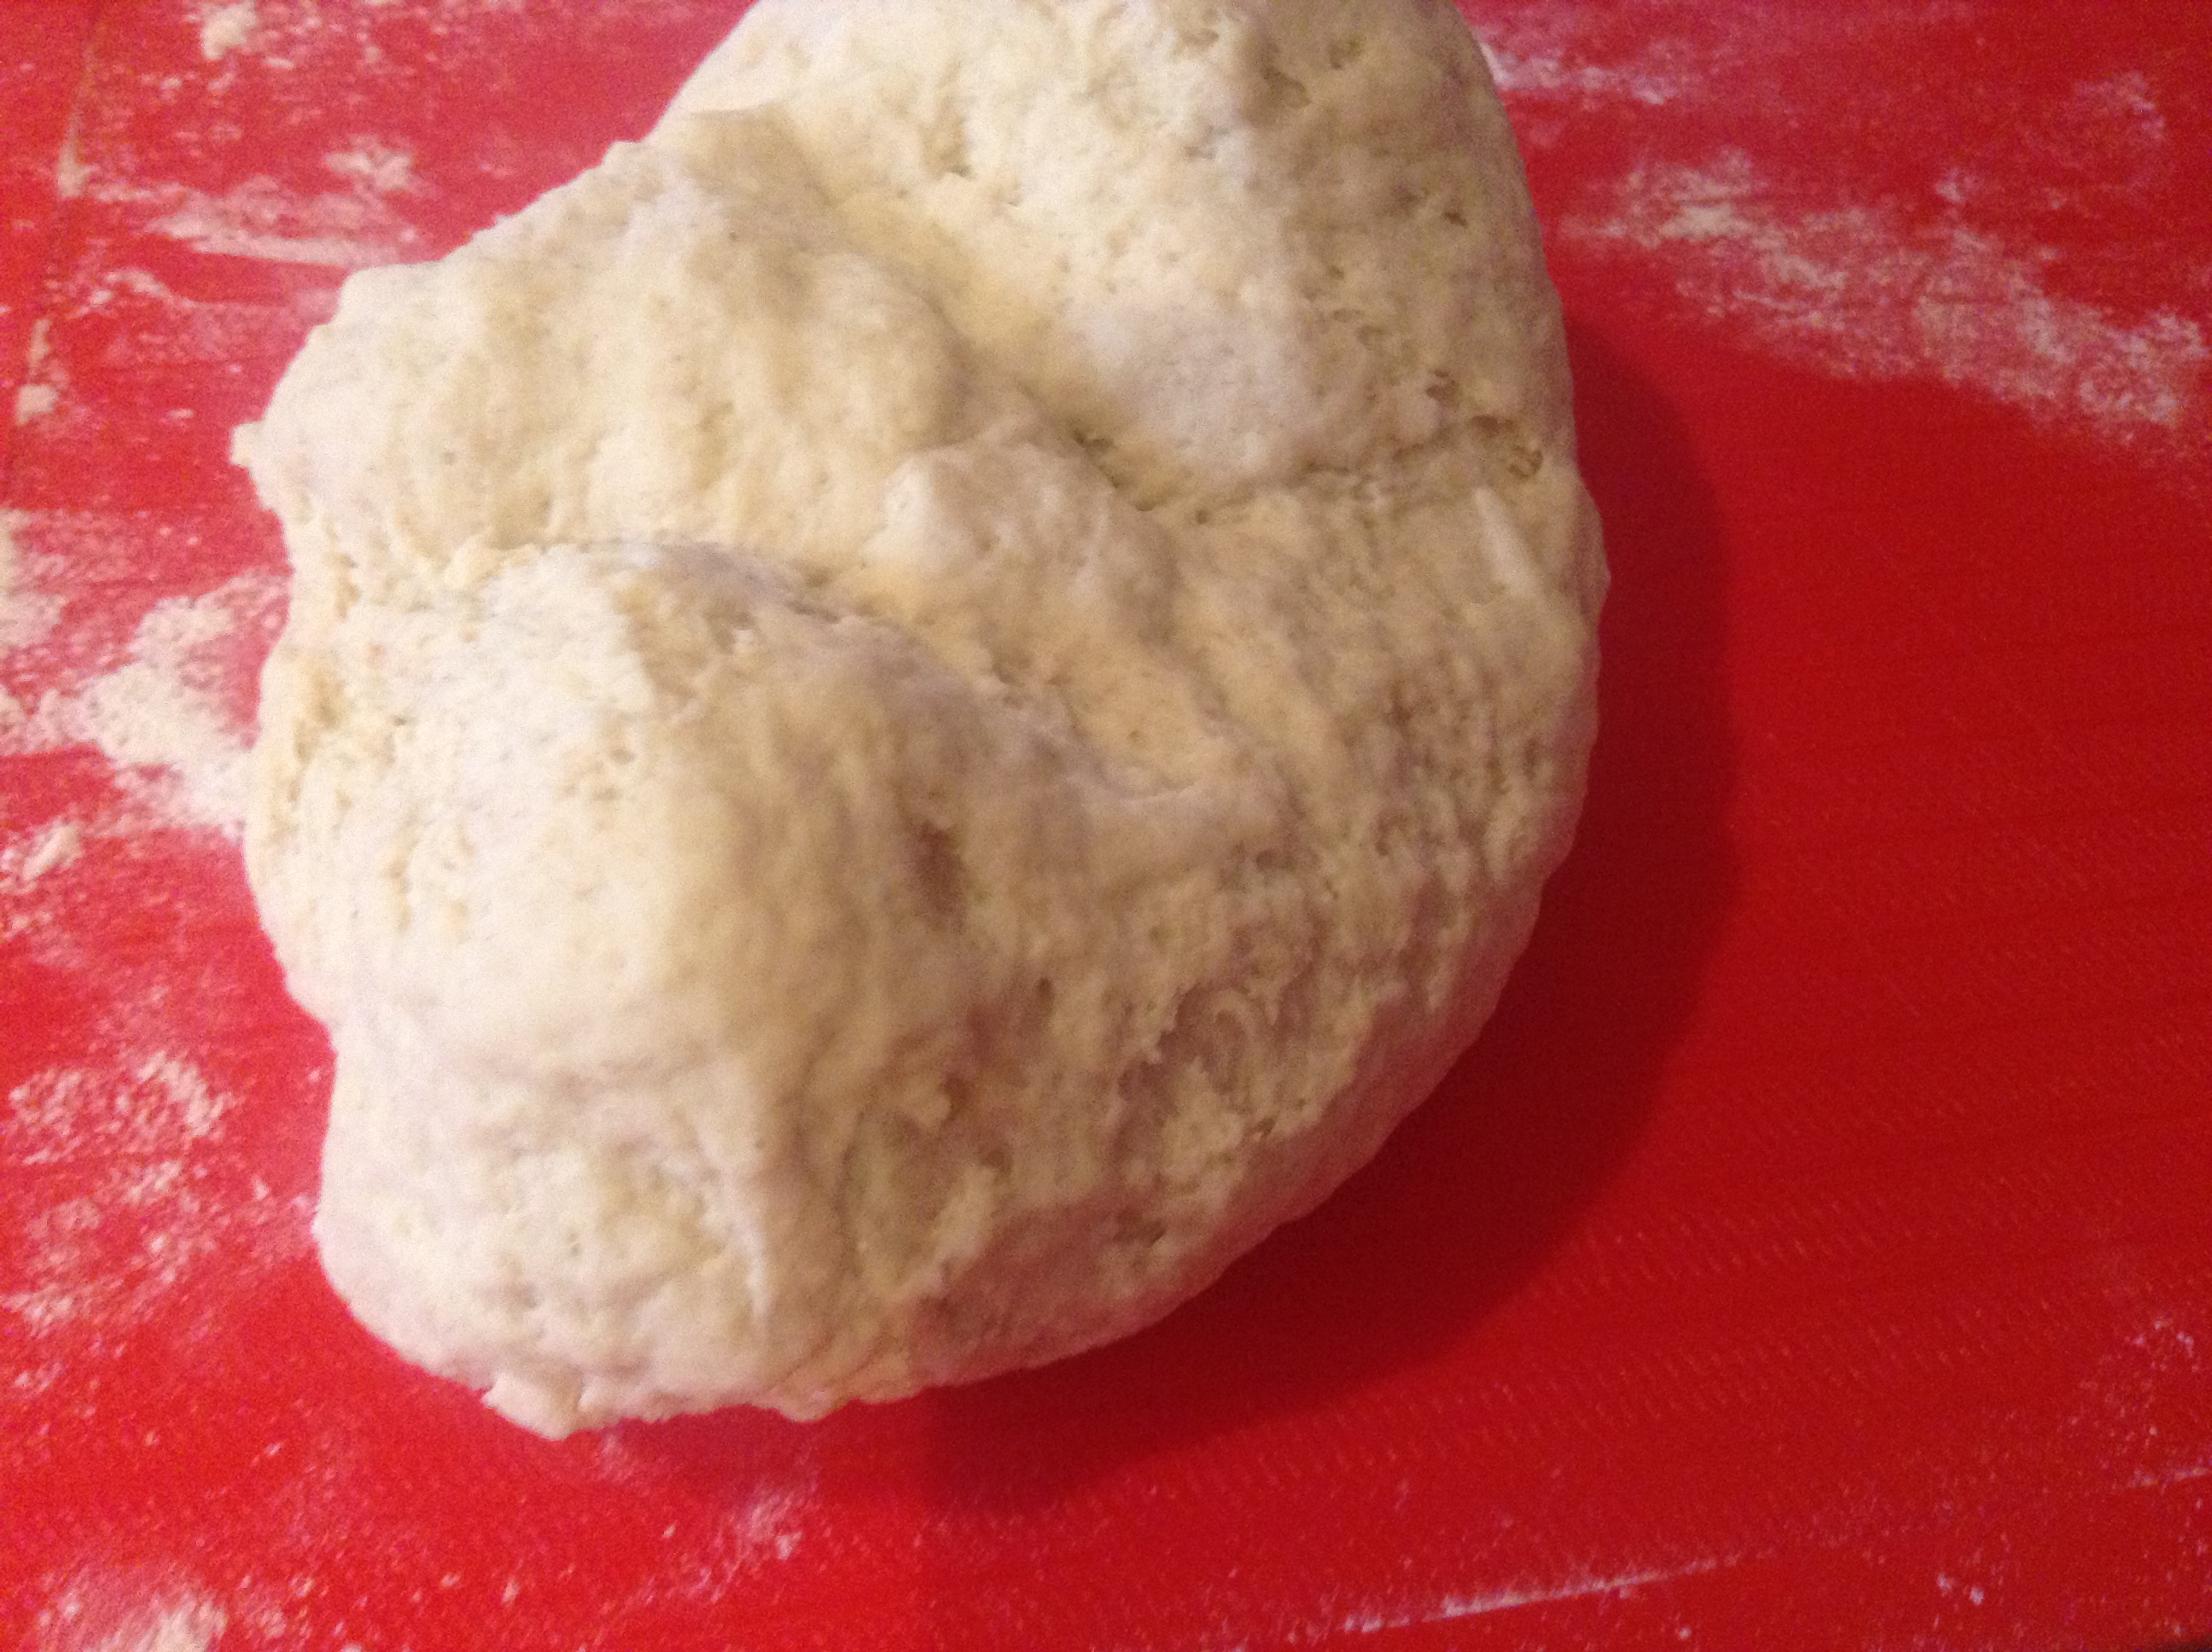
I mixed the banana and granola in a bowl.  Mashing up the banana is key!  Then mixing it all in is easy (I use disposable gloves to do this as I have long nails and it’s kind of gross otherwise!)

Image

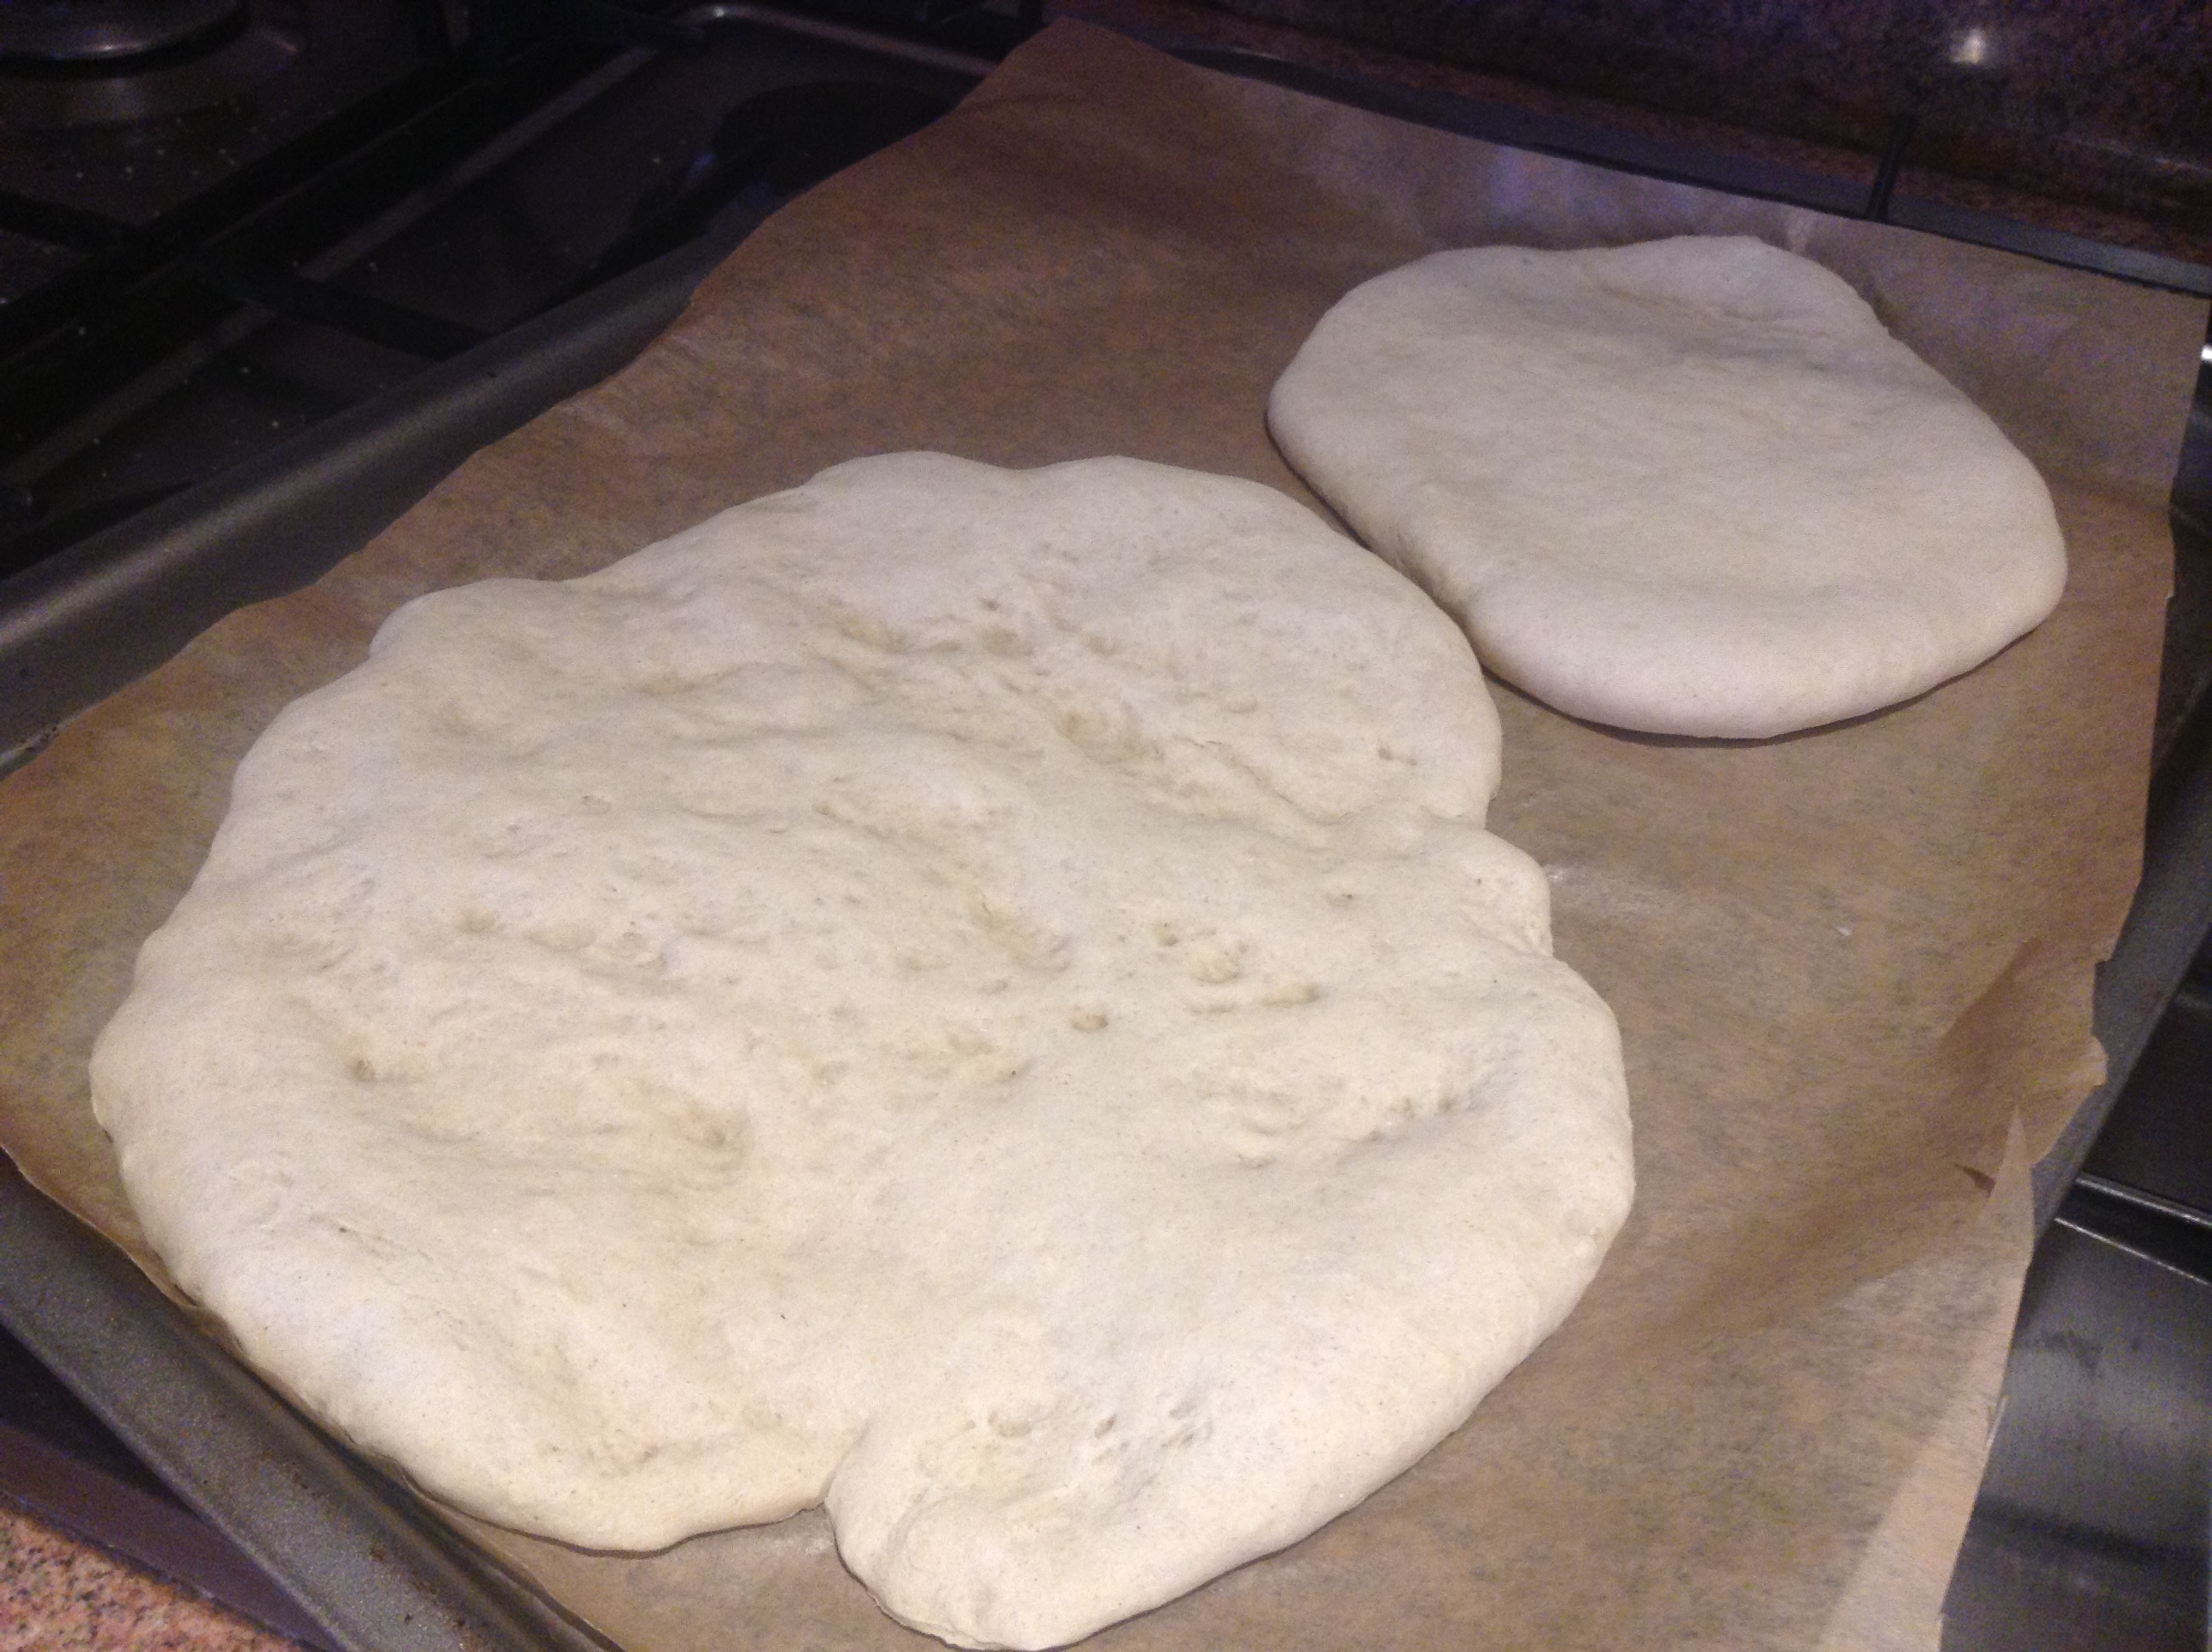
I then made them into tiny cookie sizes.  I didn’t flatten them out much as I prefer it to be soft inside.

Image

I funnily enough forgot to take the end result.  It was hot out of the oven – the smell of banana filled the kitchen and I starting eating.. and eating.. Gave the husband his share.. and then I remembered… “MY BLOG…”

Image

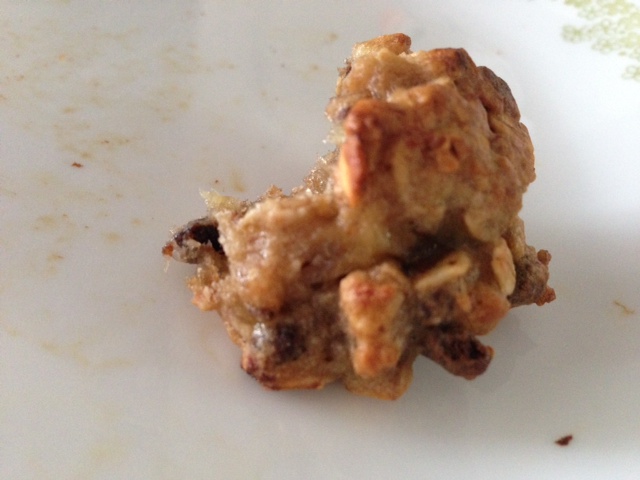
The tiny remain before I ate my last bite! 🙂 YUMMY.

B’s 2 Ingredient Granola-Banana Cookies

Bakes: About 6-8 depending on size

Ingredients:

  • 1 banana (riped is better!)
  • 3/4 cup granola

Method:

  1. Preheat oven to 180 C.
  2. Line baking tray with cookie sheet.
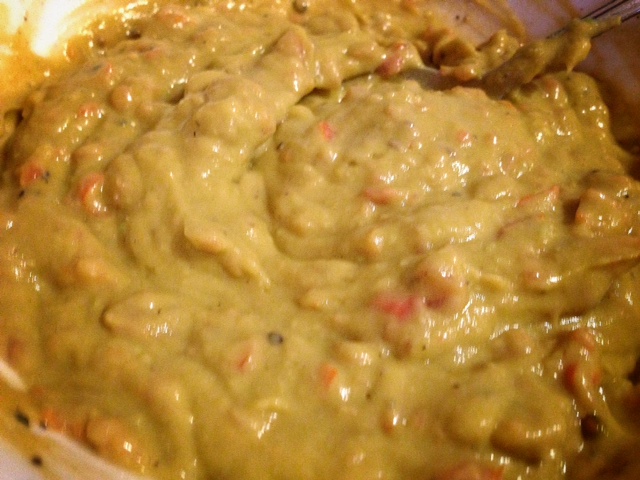
  3. Mash the banana and mix in the granola.
  4. Make sure the mixture is not too dry or wet.  It should be moist like the picture above.
  5. Bake for 15 mins.

Enjoy this healthy vegetarian treat! Great for days when I hit the gym.  I can eat minus the guilt.

xx

B

Foodie Fridays: B’s Vegetarian Tuna Pizza (Without Yeast)

Hello everyone.  I LOVE CHEESE.  I really wish I didn’t as it’s so very fatty, but I just love cheese.  Like love love love cheese.  I hope I have emphasised my undying love for cheese to illustrate my passion completely.  It’s funny how words do not do justice to your emotions at times.  But I’m sure you’ve got the point, if you haven’t, I LOVE CHEESE.

Ater turning vegetarian, I really missed having Tuna as it was one of my favourites.  Fortunately, I discovered Vegetarian Tuna (made from soya).  It actually tastes like the real thing!  I’ve had it in salads and sandwiches so far.  Today, I wanted to try it warm.  I thought I’d try it on pizza.

I’ve always been terrified of yeast.  I don’t know why – I guess yeast rising is creepy in someways.  I googled pizza dough without yeast and gave it a shot!  I came across this link.  Majority of the comments were good, which made me lean towards it!

Here are my photo-steps:

Image

A ball of yeast-less pizza dough. YAEY!!

ImageRolled out and ready for the oven!  I thought it was wise to bake them for 10 minutes first to avoid it to get soggy! This is the pic after the oven btw! Tried a thin base and a thick base.  Always good to try out to different kinds in your first go.  OPTIONS ARE GREAT. Good to know what you prefer!

Image

Toppings are on – and ready to go!

Image

It was that good.  I left out photo-editing as I felt it would be unfair to the pizza to touch it up when it looks this good 😉  Yes pizzas can be personified in my world.

ImageThe pizza deserved a second angle 😉  DELECTABLE. DELICIOUS. SCRUMPTIOUS.

B’s VEGETARIAN TUNA PIZZA 

Makes:  2 Large Pizzas and 1 baby one (LOL)

Ingredients:

  • 2 1/2 cup plain flour
  • 1 tbsp olive oil
  • 3/4 water
  • 1 tsp salt
  • 2 3/4 tsp baking powder
  • Tomato passata, basil, salt and pepper
  • Veg Tuna
  • Cheese

Method:

  1. Mix dry ingredients together.  Add water.  Add oil.
  2. Mix with hands to form a dough.
  3. When it forms into a ball make sure it is not too sticky.  If you’ve added extra water, add a bit more flour to balance it out.
  4. When the texture is right (Smooth) start kneading on a surface with flour for 3-4 minutes.
  5. Roll it out to the desired shape.  I tried my best to make it look like a pizza but one pizza looked like the shape of India on the atlas!
  6. Bake in the oven for 10 minutes at 200 C.
  7. Put tomato passata in a pot and heat it with seasoning.  Mix some of the sauce with the tuna.
  8. Add the tomato base on the pizza, top with tuna and cheese.
  9. Bake for 20 minutes at 200 C or more depending on how you like it!

Enjoy your Vegetarian Tuna Pizza that has no yeast in it’s pizza dough. Yeast is creepy.  Until I overcome my yeast-a-phobia I will be using this recipe as I loved it!  What a find – thank you Terry!

xx

B

B’s Eggless Oven Pancakes with a Mexican Quorn Minced Twist

ImageDoesn’t the picture speak for itself?  😉  So I have left-over El Paso Fajita Sauce (about half a bottle).  Was thinking of using it for lunch but didn’t have tortillas at home!  So I came up with this idea 🙂  It actually worked really well.  I used my Eggless Oven Pancake Recipe and topped it up with minced cooked in fajita sauce and cheese.  A vegetarian easy mexican meal!

Got my ingredients ready:

Image

And started baking the pancake base first.  This took longer than my recipe as I doubled it.

Image


Till its golden, and the tooth-pick comes out clean.  You’re ready to go!  Start topping it up!

B’s Eggless Oven Pancake Topped with a Mexican Quorn Minced Twist

Bakes: One pancake for 2 people

Ingredients:

  • 1 cup all purpose flour
  • 1 cup milk + 1 tbsp vinegar (for the buttermilk)
  • 1/2 tsp salt
  • A bit of butter to butter the tray 
  • Quorn Minced (1/3 packet)
  • Fajita Sauce (1/2 bottle) + 1 tsp Tomato Puree

Method:

  1. Preheat oven to 210 C.
  2. Pour a bit less than 1 cup of milk in a measuring cup.  Add 1 tbsp of vinegar to it and let it sit for 5 minutes.  This becomes your buttermilk.
  3. Pout milk in a bowl and mix in the flour and salt with a whisk.  
  4. Don’t overmix as it will lose its fluffiness as a pancake. (Just FYI)
  5. Pour in a greased pyrex dish.
  6. Bake for about 40-45 minutes till it’s golden (you can put a foil over it after 30 mins).
  7. Cook mince in the fajita sauce, a bit of water and 1 tsp of tomato puree.  Let it simmer till mince is cooked.  Stir occasionally,
  8. Top the pancake with the mixture and cheese and grill in oven till the cheese is melted.

Note:  Serve with a salad to balance this meal 🙂

Hope you enjoy it!

xx 

B


B’s Eggless Oven Pancake Topped With Frozen Banana (ice-cream)

Me again 🙂  Today I thought I’ll blog again – another healthy recipe to keep the vegetarians going!  This oven pancake is eggless and puffs up in the oven – thus there’s no flipping required!  Easy treat with minimal ingredients.  Recently over my eggless home-made scones, a friend and I were having a conversation about eggless baking and she gave me a tip about substituting buttermilk for milk in the recipe and omitting eggs completely.  I had  to give it a go! 

I lined a pyrex dish with baking paper.  This allowed me to omit buttering the dish.  You can slightly butter the paper though.

ImageLooks kind of iffy, but it comes out easy don’t worry!  

The final result (I love this photo- it’s been edited using Snapseed):

ImageThis is a great low-fat treat.  There is NO SUGAR (except for the chocolate sprinkles on top which is minimal if you ask me). Also – the ice-cream is frozen banana which I blended.  That’s it!  Easy!  B’s food is usually quite easy! 

If you haven’t frozen banana before, here are the steps:

  • Peel the banana that is slightly browning
  • Cut it in small pieces
  • Freeze in ziplock
  • Can be frozen till 6 months (I’ve read online, but to be safer I’d say 3 months as I’m not a huge fan of freezing food to begin with)

B’s Eggless Oven Pancake Topped with Frozen Banana (ice-cream)

Bakes: One pancake for 2 people

Ingredients:

  • 1/2 cup all purpose flour
  • 1/2 cup milk + 1/2 tbsp vinegar (for the buttermilk)
  • 1/4 tsp salt
  • Vanilla essence to taste
  • A bit of butter to butter the tray (can omit this if using baking paper)
  • Frozen Banana
  • Chocolate Sprinkles (optional)

Method:

  1. Preheat oven to 210 C.
  2. Pour a bit less than 1/2 cup of milk in a measuring cup.  Add 1/2 tbsp of vinegar to it and let it sit for 5 minutes.  This becomes your buttermilk.
  3. Pout milk in a bowl and mix in the flour and salt with a whisk.  Add vanilla essence. 
  4. Don’t overmix as it will lose its fluffiness as a pancake. (Just FYI)
  5. Pour in a pyrex dish lined with baking paper.
  6. Bake for about 30 minutes till it’s golden.
  7. Blend the banana pieces with a tiny bit of milk. 
  8. Top the pancake with the ice-cream and serve!

Enjoy a healthy dessert to beat the summer in London!

xx

B


B’s Easy Vegetarian Chow Mein (Chinese Noodles)

Hello everyone.  Hope everyones been very good 🙂 Here’s another one of B’s Recipes 🙂  I am really enjoying this platform for me to blog and share.  Comments and likes are really encouraging, so please do keep them coming! 🙂

Thought I’d share an easy Chinese recipe that I’ve made up quite a while ago.  We have this usually about once a month with variation of veggies (depending what’s in my pantry!)

Hubby’s Chow Mein (it just looked more colourful than mine.  I DO NOT EAT CHILLI. I am Japanese at heart. Mild food = good food):

ImageDoesn’t that just look great?

Here’s a pic of all the veggies while cooking:

Image

And a pic of my noodles, slightly less colourful in comparison but more delectable:

Image

B’s Easy Vegetarian Chow Mein (Chinese Noodles)

Makes: Enough for 3-4 people depending on appetite! haha!

Ingredients:

  • 1 packet Chow Mein Noodles
  • 4 carrots
  • 6 mushrooms
  • Handful of green beans
  • 3 Quorn Sausages
  • Seasoning: Light Soya Sauce, Dark Soya Sauce, 1/2 tsp red chilli powder, Sesame oil, mushroom seasoning

Method:

  1. Prepare noodles and drain.
  2. Put sausages in oven as instructions show and chop in bite size pieces.
  3. In a wok, put 1 tsp normal oil and 1 tbsp sesame oil.  When hot stir fry cut mushrooms till done.  Add grated carrots and cut green beans.  Add sausage pieces. Add seasoning to taste.
  4. Add noodles and adjust flavour.

It’s easy, healthy, vegetarian and yummy.  You really need to try this!

xx

B

Photo-editing app: Snapseed

Snapseed – an app that I use for all my iphone photo editing.  I simply love it.  It gives richer texture and color to my food pictures too.  FYI – the food pictures that you see on my blog are all taken with an iPhone 5.  Some are edited with Snapseed, ok most are edited. hahaha!

Reasons I like Snapseed:

  • Easy to use
  • FREE (free is always good!)
  • Distinct difference after editing
  • Can be saved/emailed easily from the app

You can see the difference for yourself, here’s a picture of coconut scones with chocolate before editing:

Image


Here’s one after editing:

Image

The difference is pretty obvious.  The colors look more vibrant!!


Verdict:

TO DOWNLOAD OR NOT TO DOWNLOAD:  TO DOWNLOAD

Hope you enjoy editing your pictures!

xx

B


B’s Easy Guacamole (Avocado Spread) Recipe

HOLY MOLY – GUACAMOLE!

I’m trying to go back to my healthy eating regime.  It’s really a challenge with all the visitors that keep coming to London. No guest would like a bowl of salad for a meal or a healthy spread.  But since everyone’s gone for now – I can eat healthy again.

I made a guacamole spread as I had 2 avocados in the fridge and didn’t feel like eating them raw in salad. It’s really very easy for those of you who haven’t made it before!  I leave out onion and garlic just for the added simplicity.  However, you can fancy it up all you want!

Many people mash the avocado up but I prefer it to be a smoother paste.

I blended my ingredients to form a paste:

ImageThe creamy spread after I seasoned it:

Image

It was lovely!  Tasty and healthy vegetarian food, you can’t go wrong!

B’s Easy Guacamole (Avocado Spread)

Ingredients:

  • 2 avocados (ripened)
  • 4-5 cherry tomatoes
  • 1-2 tbsp lemon juice
  • 1/2 tsp cumin powder
  • Salt and Black Pepper to season

Method:

  • Mash avocado.  Put it into a blender/chopper with cherry tomatoes cut into halves.  Blend till its a creamy paste.
  • Remove into a bowl and season with lemon juice, cumin powder, salt and pepper!

So easy, so tasty, so… there’s just no excuse 🙂

xx

B

B’s Makhani Potato Bake

Hello all!  I’ve been so MIA lately – have been having guest and been so busy,  I made this for my so-so-lovely visitors.  They really enjoyed it 🙂  I made this as I could make the sauce before hand which would give me less stress!! It became sort of an indian butter masala and pasta bake fusion.  Vegetarians sometimes have limited fancy food.  Cheese and potatoes are always a winner.  I would definitely make this again! But I would have to hit the gym several times before that and after that!

Here’s the sauce:

Image

And this is how it looks like fresh out of the oven:Image

Another look at it, to simply tempt you… Yes I love making people hungry!Image

B’s Makhani Potato Bake

Ingredients:

  • Makhani Sauce
  • Baby Potatoes (I bought ready-made herb and butter)
  • Shredded 4 Cheese 
  • Some Tabasco/Dunriver Sauce

Method:

  • Prepare Baby Potatoes
  • Pour yummy sauce over it.  Top up with cheese and tabasco.
  • Bake at 200 degrees and serve while hot.

Enjoy it!  I would suggest it as a leftover whenever you try out my Makhani Paneer 🙂

xx


Coconut Scones

Hello everyone 🙂 I’ve been experimenting with Scones lately.  I altered the BBC recipe a bit to make coconut scones.  I had to make these twice as I was unsure of the amount of coconut to put in it.  The first go,  I used 50g of coconut.  The second go, I increased it a bit to suit my palette more!

Image

I tried different shapes, just for fun!

B’s Coconut Scones

Bakes: About 12 small scones, but I made some big funky shapes instead.

Ingredients:

  • 225g Self Raising Flour
  • 55g Butter
  • 50g Caster Sugar
  • 75g Fine Desiccated Coconut
  • Pinch of Salt
  • 150ml milk

Method:

  1. Preheat oven to 220C.
  2. Mix together the flour, salt and rub the butter. Make sure the butter is cold.  This ensures softer scones.
  3. Add in the coconut and sugar.  Mix in the milk and knead lightly to a dough.
  4. Move to a floured surface and cut the shapes required.
  5. Brush with milk.
  6. Bake for about 13 minutes, till golden on the top.
  7. Serve with butter.  🙂

I personally like this the best with just butter as you can then appreciate the taste of the coconut.  I raised the amount of sugar in this recipe as a result.  As served with butter, it should be a bit sweeter than a normal scone that is served with jam.

YES, the FOODIE thought about it properly!  Give it a go. You know you want to!

xx

B

Easy & Vegan: Scrambled Tofu

Prior to being Vegetarian, one of my favourite combinations was scrambled egg with rice.  Growing up I used to have it like fried rice, more like butter-glistening rice with egg.  It was my go-to comfort food 🙂

I’ve now found a replacement to suit my new vegetarian lifestyle.  It’s been 10 years.  It’s definitely a commitment that I hope would be life-long.  So anyways!  I made tofu scramble for lunch yesterday, didn’t want it to have butter/oil or any fat.  So here’s a low fat, protein filled easy recipe.

But hold on – first have a sneak peak...

Image

It was yummy!  Packed with flavour and grilled asparagus on the side. 🙂

All you need is:

Image

B’s Tofu Scramble

Makes: Enough for 1 (or 2 if you are eating with something else on the side)

Ingredients:

  • 1 packet Firm Silken Tofu (refer to the picture)
  • Seasoning: Turmeric, Red Chilli Powder, Soya Sauce, Salt, Pepper

Method:

  1. Put the block of tofu in the pan.  Keep mashing it.  All the excessive water to evaporated.
  2. It usually takes around 5-7 minutes on high flame.
  3. Keep mashing.  When it is dry and resembles egg, start seasoning.
  4. Start off with some Turmeric (about 1/2 tsp) to give it an egg color.
  5. Add chilli powder, soya sauce, salt and pepper to taste.

Note: I like a lot of flavour, as a result I add a lot of seasoning.  Always remember that tofu, unlike egg is rather bland.  Season away!

Enjoy it with brown rice and a side or even on top of savoury waffles with sausages. (I have had that before too, and it was really good!) 🙂

Enjoy! 

xx

B