Review: VonShef Stone Raclette Grill

I’ve recently bought the VonShef Stone Raclette Grill.  I was missing some grilled cheese from Switzerland.  I was there 2 years ago, the cheese is to die for.  I bought this grill to have an indoor BBQ as the weather in London is so unpredictable.  So just in case. I absolutely loved it (thought I’d give you my verdict first) 🙂

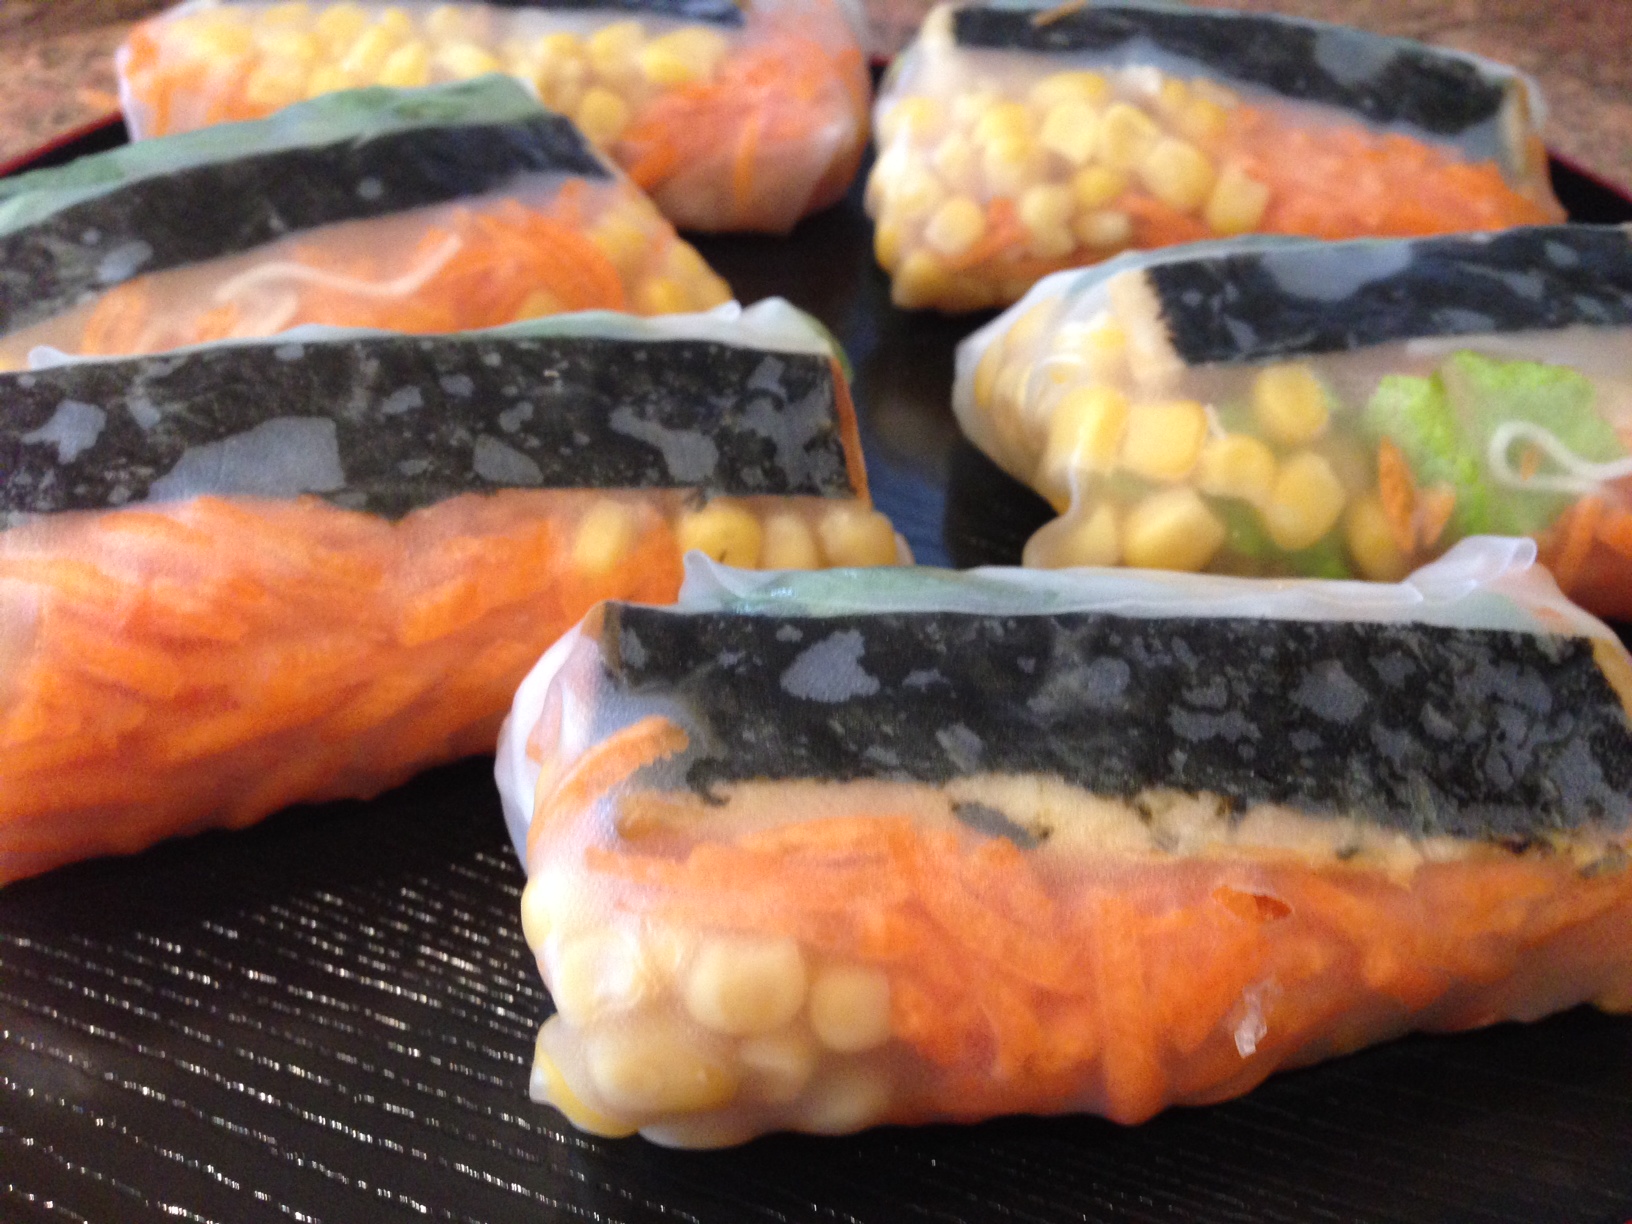
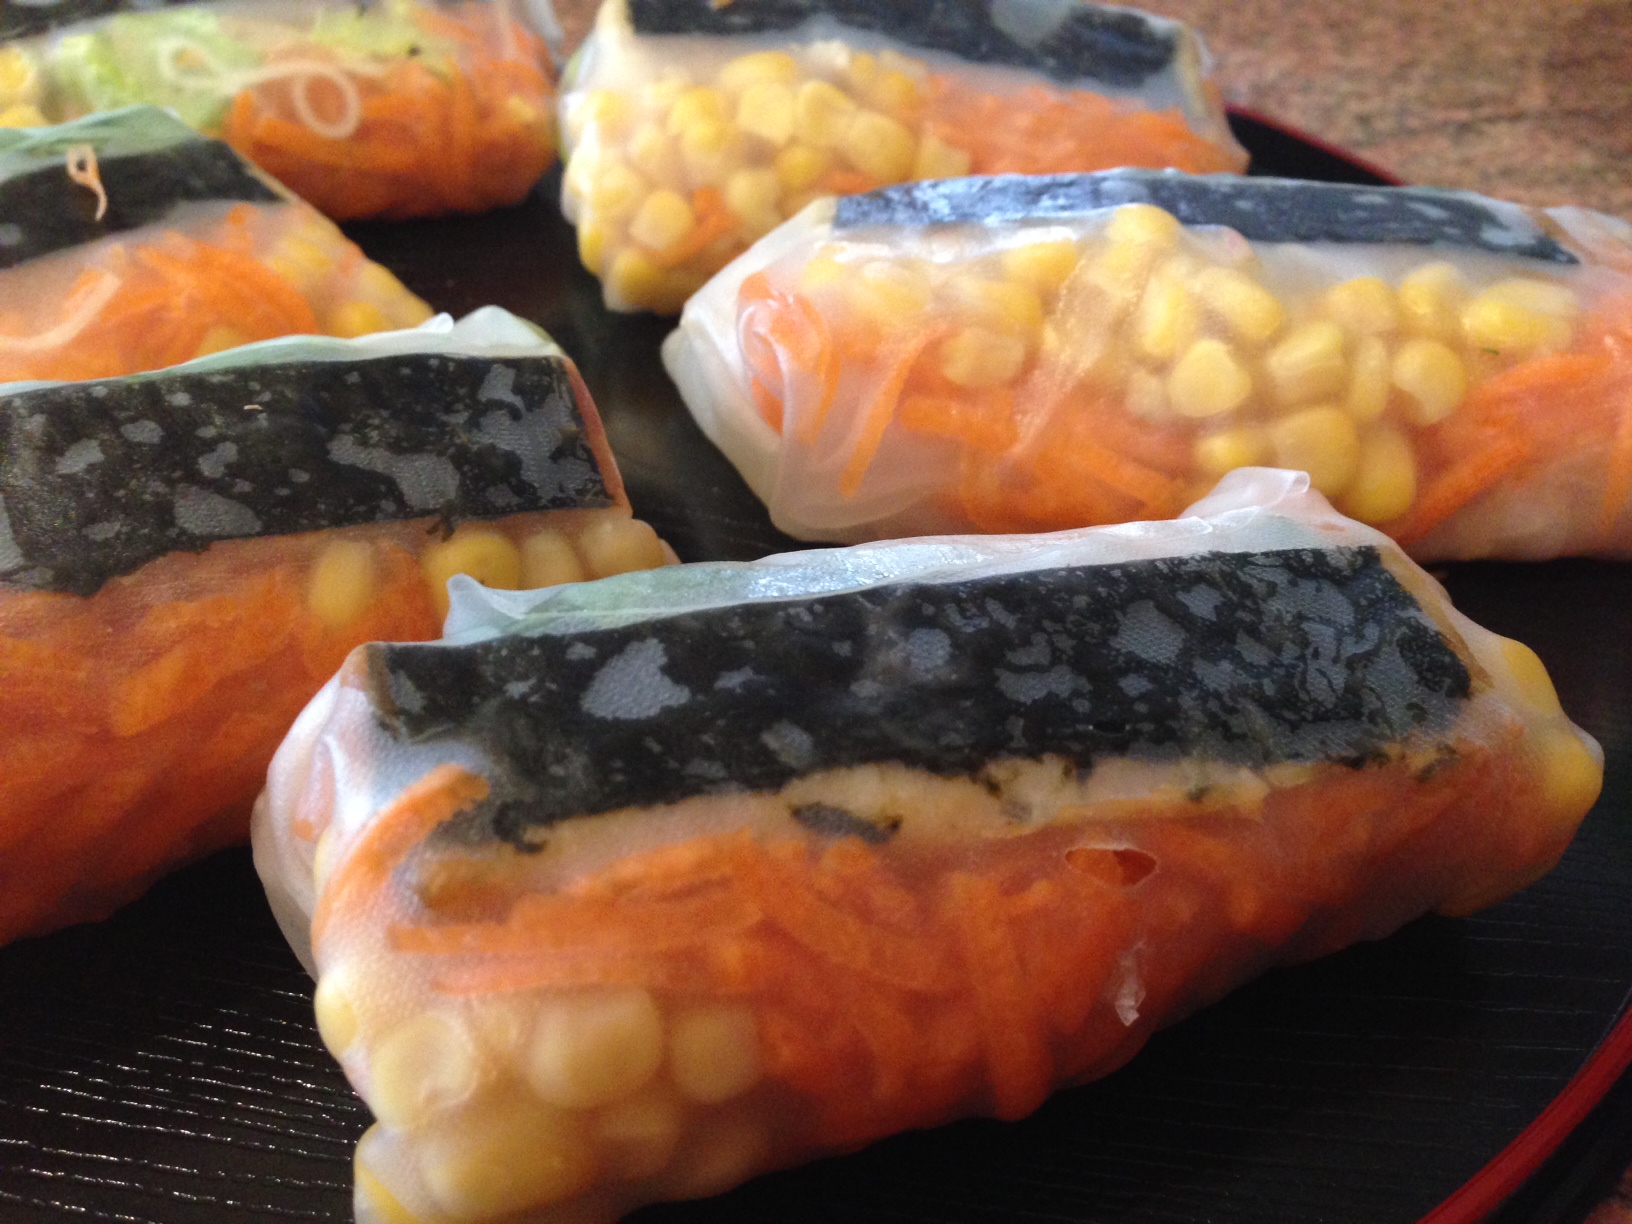
Here are pictures that prove that Vegetarians can have a great grill too!

IMG_2779

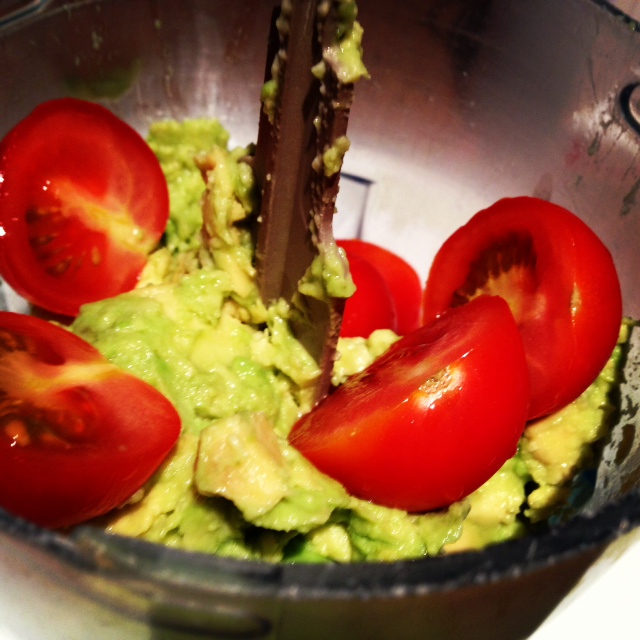
 So vibrant and beautiful

IMG_2774

The layered grill.. Such an awesome feature!

IMG_2762

Loved the Kebabs!

IMG_2768

You can’t go wrong with Quorn Sausages. You seriously can’t.

IMG_2781

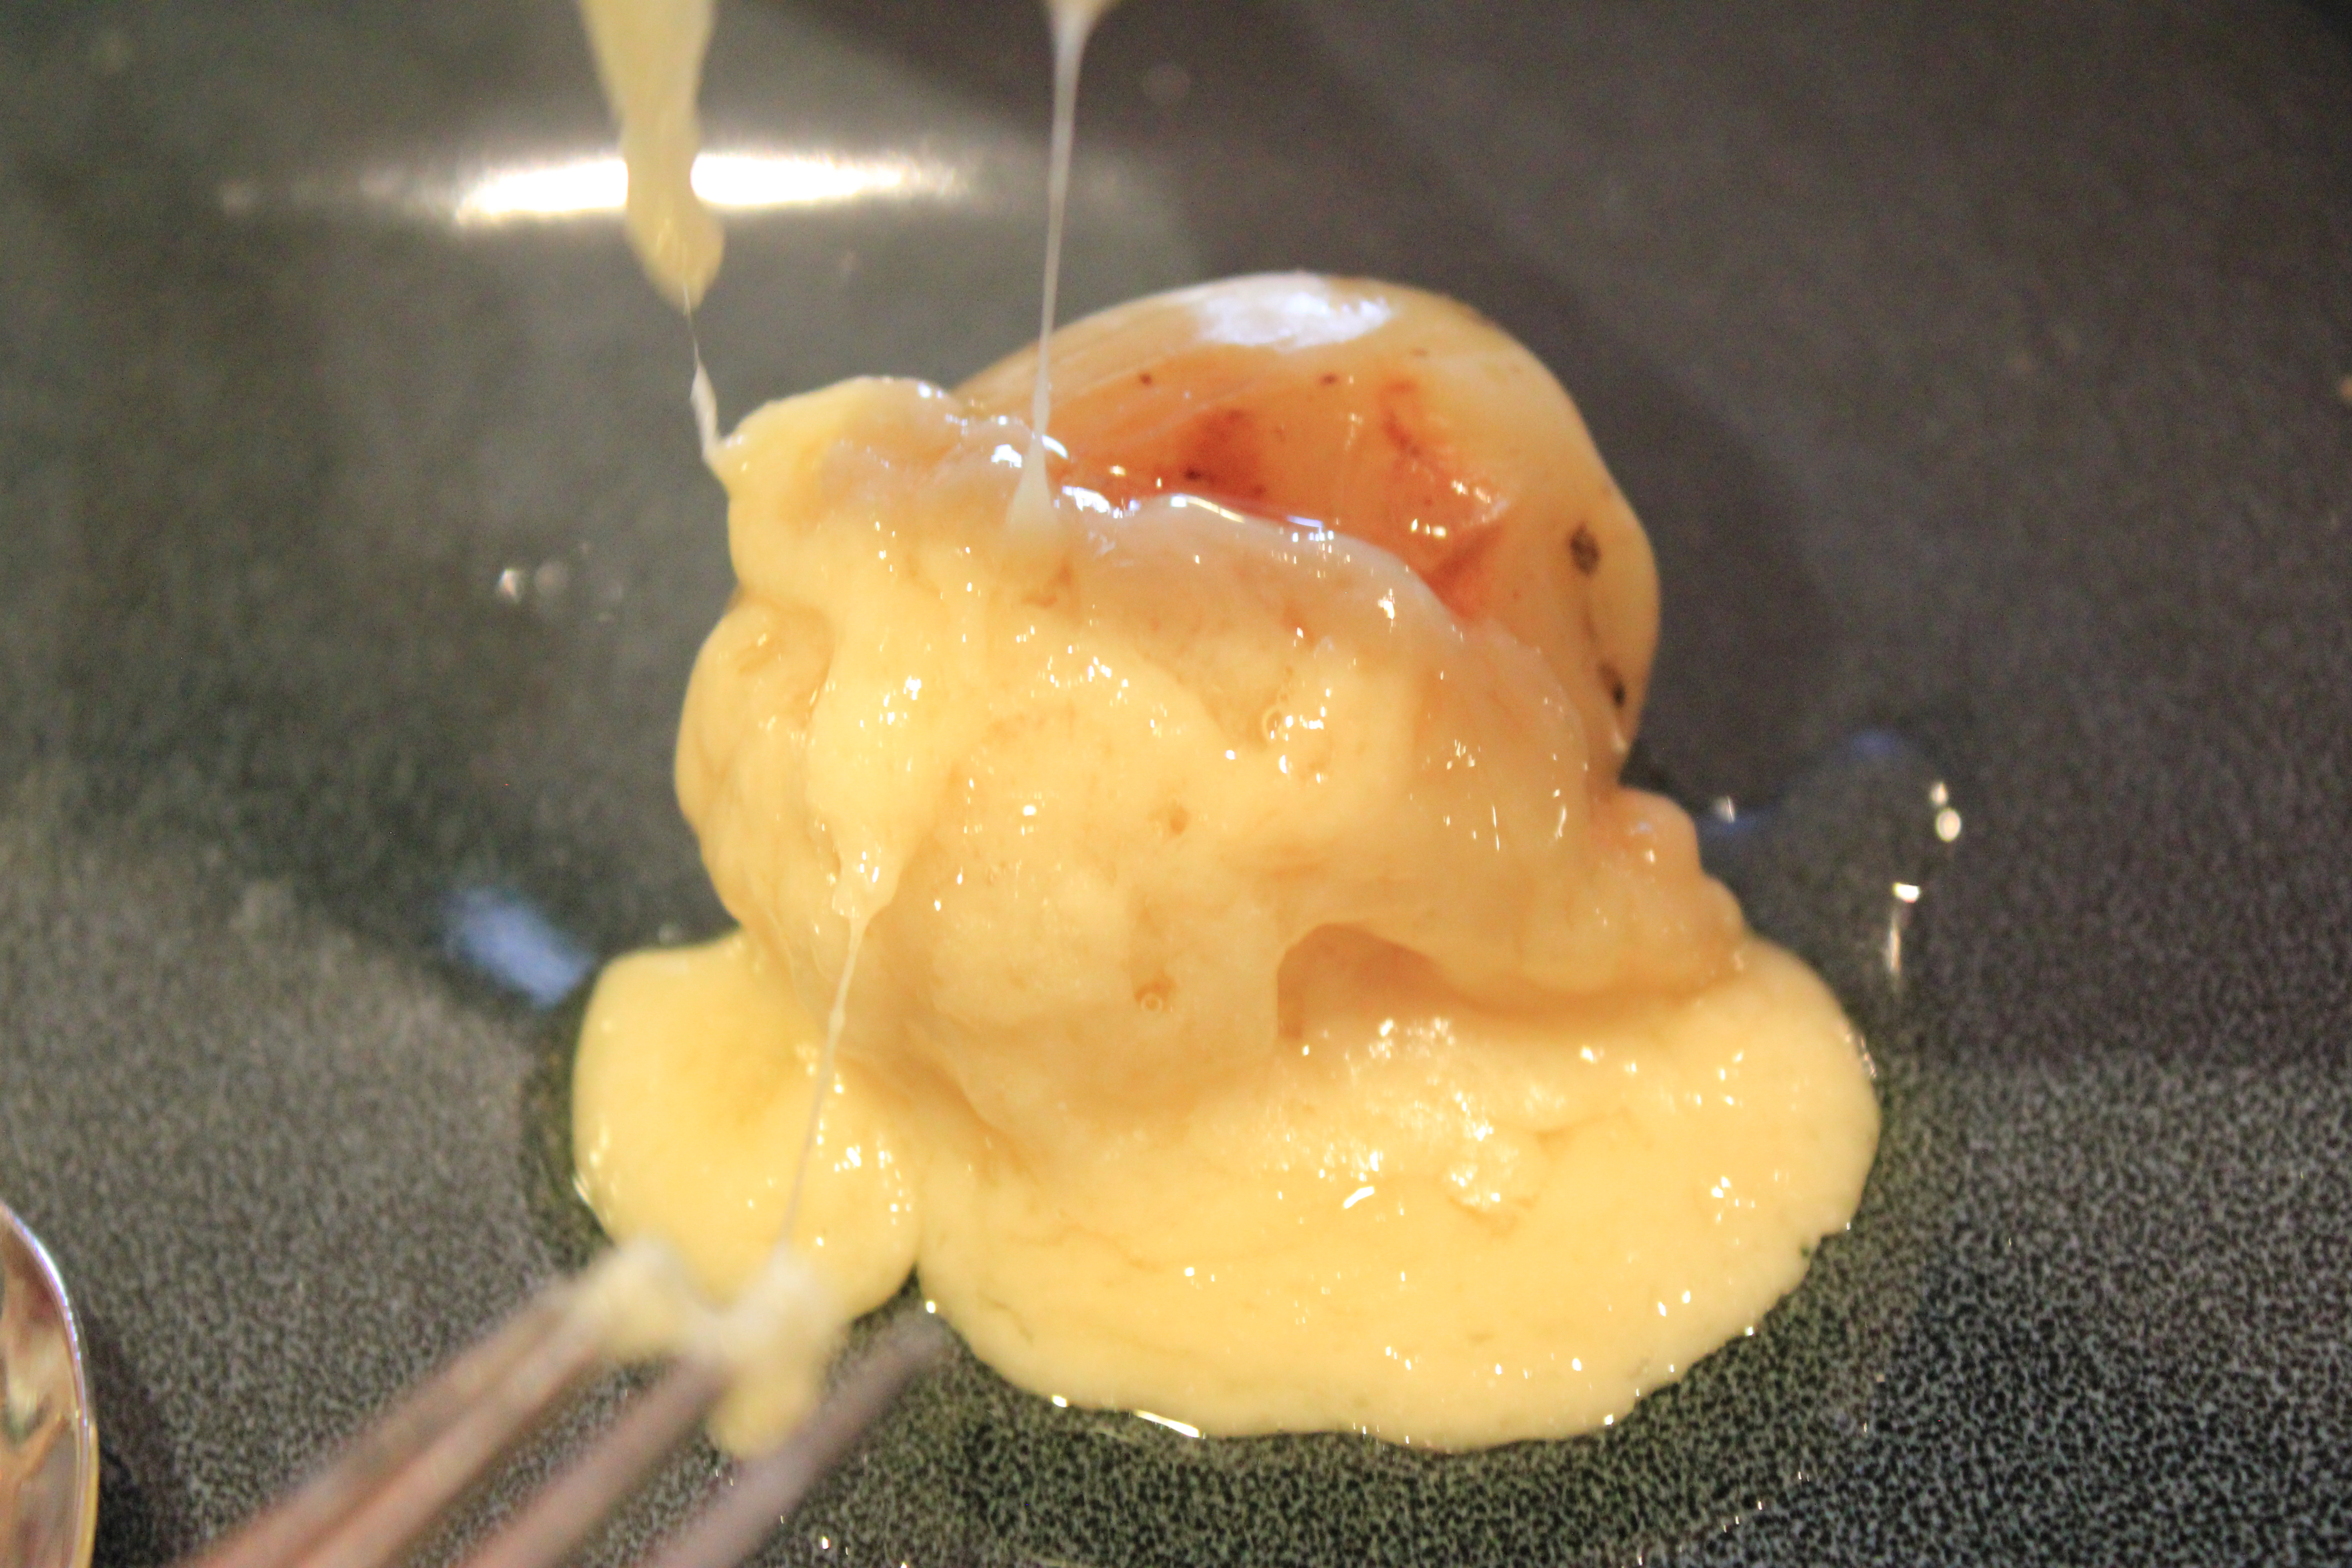
Cheese from heaven.  It just couldn’t get any better.


Here’s a breakdown of the VonShef Grill.  What I liked/disliked etc!

What we had for dinner from the grill:

  • Quorn Sausages with bread
  • Halloumi-Cherry Tomato Kebabs
  • Roasted Potatoes
  • Corn on the Cob
  • Grilled Asparagus
  • Grilled Peppers
  • Grilled Gruyere Cheese *to die for*

How to Use the Grill:

  • Pre-heat it for 20-25 mins
  • Brush oil on it lightly
  • Rub a bit of salt on the stone

What I liked about it:

  • Fun & Interactive Dinner
  • Easy to assemble
  • Healthy cooking option (minimal oil)
  • Grilled food is always yummy!

What I disliked about it:

  • You have to wait to wash up (I left it overnight, but some people say 3-4 hours is plenty)
  • Washing up by hand as opposed to a dishwasher
  • The wire for the cord is not long enough to use on the table – I got an external long adapter

TO BUY OR NOT TO BUY:  TO BUY.

Advertisement

Foodie Fridays: Vietnamese Fusion Rolls with Peanut Hoisin Sauce

Hello everyone.  Fridays = Food.  Well OK to be very honest, Everyday = Food! 🙂  I just absolutely love food.  I’m always on the quest to try out new things as food should be interesting and fun!  I bought rice paper and googled a few recipes for Vietnamese Rolls, most of which seemed rather yummy but I lacked ingredients, so I made up my own.  🙂  Yummy Vegetarian Rolls!

Image

Image


Don’t they just look gorgeous?  I tried to make them as colorful as possible 🙂  It’s really a healthy side – somewhat like a salad roll. Yes that’s how I roll. LOL


Vietnamese Fusion Rolls with Peanut Hoisin Sauce

Makes enough for 2 people as a side.

Ingredients:

  • 4 rice paper sheets
  • 1 carrot, grated
  • 4 tbsp sweet corn
  • Mock Fish, baked and cut in strips
  • 1/5 packet of Rice noodles, boiled and drained
  • Some shredded lettuce
  • Handful of Thai Basil Leaves
  • FOR DIPPING SAUCE:  2 tbsp Hoisin Sauce, Pepper, Water and Crushed Peanuts

Method:

  1. Prepare Rice Sheets (follow directions on the packet – Dip in warm water and it’s ready to roll!)
  2. Place the ingredients in the middle, and roll it upwards – just like a burrito. Simple.
  3. Mix the sauce in a bowl with some water and crushed peanuts.  Mix it to the desired consistency and taste you would like.  You can add some soya sauce if you like or chilli sauce!

Enjoy!! 🙂

x

B

Foodie Fridays: B’s EASY STOVE-TOP HOMEMADE SALTED POPCORN RECIPE

Hello!  I’ve been trying popcorn at home.  I’ve adapted my recipe from this blog.  I really can’t believe how incredibly easy it is to make popcorn.  Not to mention – how cheap it is too!  (Cinemas mark up the price by 1000% or more! HAHAHA) Popcorn is best eaten when its warm 😉  Actually I love sweet popcorn (cinema-style) and have tried 2 different recipes but am not fully satisfied with the outcome.  So if anyone knows a good one, please leave me a comment or link!! 🙂

And here’s the picture of my home-made popcorn:

Image

B’s EASY STOVE-TOP HOMEMADE POPCORN RECIPE

Makes: Enough for 2 hungry people

Ingredients:

  • 1/2 cup corn kernels
  • 4 tbsp oil (enough to cover entire base of pan)
  • 1 tsp salt
  • 2 tbsp butter

Method:

  1. Put oil in pan on medium heat,
  2. Add kernels and give it a shake to ensure kernels are coated evenly with oil.
  3. Put the lid on the pan (loosely) to allow air to escape.
  4. Give the pan a bit of a shake.
  5. Kernels will pop in 1-2 mins.
  6. Transfer popped corn (LOL poped corn = popcorn! LOL)  in a bowl and drizzle with butter and salt.

Note:  Putting half the amount of salt in the oil works well too.  😉  Do as you prefer!!

Enjoy!

xx

B

Foodie Fridays: Tofu Breakfast Muffins with Quorn Bacon = B’s Eggless Egg Muffins Recipe!

I tried making this at home after thinking about how much I loved McDonald’s Egg Muffins when I was non-veg.  I tried to somehow make a vegetarian version of Egg Muffins!  It was divine.

Here’s the result!

Image

It was really easy too!  Great for a weekend brunch 😉

The most important step is marinating the tofu so the flavour and colour gets absorbed properly.

Here’s a picture of how the tofu pieces should look after marinating it:

Image

B’s Tofu Breakfast Muffins with Quorn Bacon 

Makes: 4 Muffins

Ingredients:

  • Half packet of firm tofu cut into big rectangles (see picture above)
  • Quorn Bacon Slices
  • 4 Muffins
  • Cheese Slices
  • Seasoning: Turmeric Powder, Soya Sauce, Chilli Powder, Salt, Pepper (Mix in a bowl

Method:

  1. Place kitchen towel under and over tofu pieces to absorb extra moisture.  Leave for half an hour.
  2. Marinate the tofu with the seasonings mentioned above.
  3. After half an hour, pan-fry the tofu patties till they are done (a bit crispy on both sides).
  4. Pan fry the bacon slices.
  5. Assemble with cheese in the muffins.

Enjoy it with any sauce you like 😉  I had it with BBQ sauce and baked beans on the side with hash browns!

xx

B

B’s EGGLESS SCONES

Yes – so I’ve made eggless scones many times.  This is very easy and quick.  My previous recipe does not seem to work as well for me as I’ve made tiny adjustments here and there.

I’ve also experimented a lot with Nutella as a topping as that’s just a winner. 😉  Baking eggless scones is really easy, so if you haven’t tried it out – you really really should.   Most recipes online for scones are eggless if you omit brushing the top with egg and replace it with milk.

Image

This picture should entice you… Hmmmm…  It’s ready to eat 😉

I’ve taken pictures before the toppings too! Ok so I take a lot of food photos.

Scones before the free fat topping.  (I love doing that: free fat.  The reverse of FAT FREE.  How can a dessert be FAT FREE?  It’s FREE FAT FOR ALL! Can’t allow me to get FAT ALONE!)

Image

Image

B’s Easy Eggless Scones

Bakes: About 4-5 large scones

Ingredients:

  • 225g Self Raising Flour
  • 60g Unsalted Cold butter, cut into cubes
  • 25g Caster Sugar
  • 1/4 tsp salt
  • 120 ml milk , a bit extra for brushing

Method:

  1. Preheat oven to 220C.
  2. Mix together the flour, salt and rub the butter. Make sure the butter is cold. This ensures softer scones.
  3. Add in the sugar.  Mix in the milk and mix lightly to form a dough. Do not knead. (NO NEED TO KNEAD!! LOL)
  4. Move to a floured surface and cut the shapes required.
  5. Brush with milk.
  6. Bake for about 13 minutes, till golden on the top.
  7. Serve with clotted cream, jam or Nutella.  🙂

Finally my revised version of eggless scones.  Have been meaning to do this- as I don’t use my previous recipe much anymore!  We had this with hot custard the other day and it was divine.  🙂

xx

B

B’s Easy Home-made Peanut Butter

So I finally tried to make home-made creamy peanut butter.  It was awesome!  The creamy texture was incomparable to the store-bought peanut butter.  B had to add it to her recipe blog index!  It was that good and that easy!  Not to mention, obviously a healthier alternative to store-bought peanut butter which contains preservatives.

First step:

Image
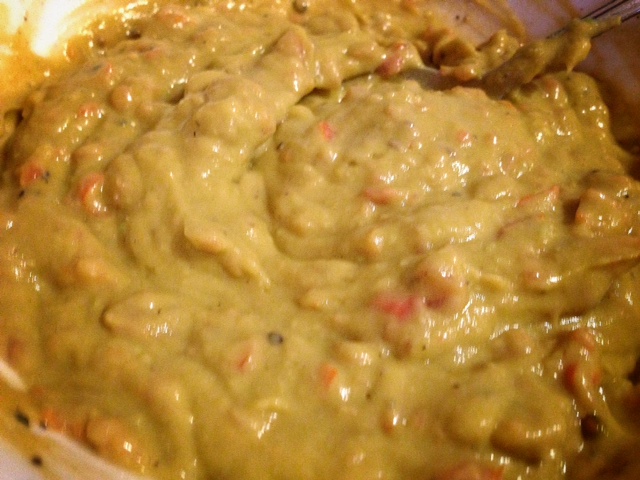
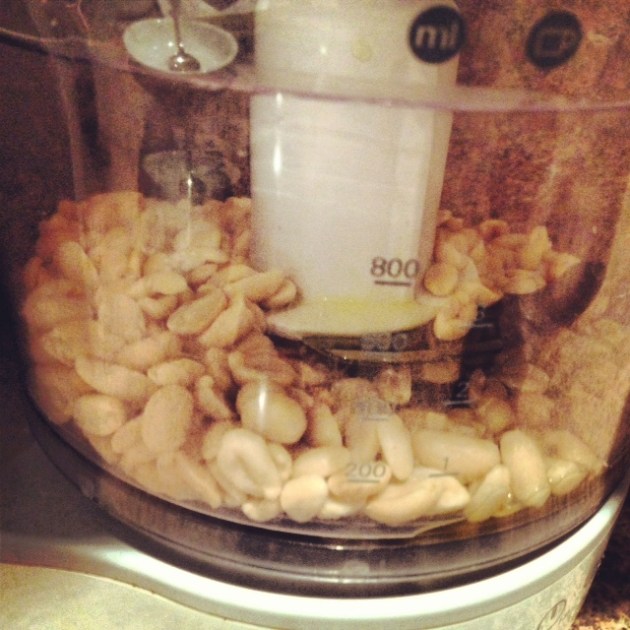
Blend ingredients together for around 5-10 minutes depending on the power of your food processor.

Final result is a creamy-to-die-for-texture:

Image

It was simply delectable.  I really loved the texture of it and was amazed how it turned out.  I was skeptical as I saw it blending as it started off grainy.  I couldn’t help but wonder how this texture would be achieved.  HAHA!  I’ve read that peanuts release their own oils after being blended for a long time – I guess seeing is believing!

B’s Easy Home-made Peanut Butter

Makes:  1 small bowl

Ingredients:

  • 90g Peanuts
  • 1 tbsp olive oil

Method:

  1. Blend peanuts and oil in a food processor.
  2. After a few minutes scrape down the extras to ensure even consistency.
  3. Blend for about 5-10 minutes depending on the power of your machine!

Note:  You can store this for a few days without refrigeration.  However, if you are in a hot country I would eat it up fast! LOL.  Remember that unlike store-bought peanut butter this has no preservatives so it doesn’t last as long.  It taste so good that it anyways won’t last so long in your kitchen!

B is exiting her kitchen for the day! More in B’s Kitchen to come.

xx

B

B’s Eggless Oven Pancake Topped With Frozen Banana (ice-cream)

Me again 🙂  Today I thought I’ll blog again – another healthy recipe to keep the vegetarians going!  This oven pancake is eggless and puffs up in the oven – thus there’s no flipping required!  Easy treat with minimal ingredients.  Recently over my eggless home-made scones, a friend and I were having a conversation about eggless baking and she gave me a tip about substituting buttermilk for milk in the recipe and omitting eggs completely.  I had  to give it a go! 

I lined a pyrex dish with baking paper.  This allowed me to omit buttering the dish.  You can slightly butter the paper though.

ImageLooks kind of iffy, but it comes out easy don’t worry!  

The final result (I love this photo- it’s been edited using Snapseed):

ImageThis is a great low-fat treat.  There is NO SUGAR (except for the chocolate sprinkles on top which is minimal if you ask me). Also – the ice-cream is frozen banana which I blended.  That’s it!  Easy!  B’s food is usually quite easy! 

If you haven’t frozen banana before, here are the steps:

  • Peel the banana that is slightly browning
  • Cut it in small pieces
  • Freeze in ziplock
  • Can be frozen till 6 months (I’ve read online, but to be safer I’d say 3 months as I’m not a huge fan of freezing food to begin with)

B’s Eggless Oven Pancake Topped with Frozen Banana (ice-cream)

Bakes: One pancake for 2 people

Ingredients:

  • 1/2 cup all purpose flour
  • 1/2 cup milk + 1/2 tbsp vinegar (for the buttermilk)
  • 1/4 tsp salt
  • Vanilla essence to taste
  • A bit of butter to butter the tray (can omit this if using baking paper)
  • Frozen Banana
  • Chocolate Sprinkles (optional)

Method:

  1. Preheat oven to 210 C.
  2. Pour a bit less than 1/2 cup of milk in a measuring cup.  Add 1/2 tbsp of vinegar to it and let it sit for 5 minutes.  This becomes your buttermilk.
  3. Pout milk in a bowl and mix in the flour and salt with a whisk.  Add vanilla essence. 
  4. Don’t overmix as it will lose its fluffiness as a pancake. (Just FYI)
  5. Pour in a pyrex dish lined with baking paper.
  6. Bake for about 30 minutes till it’s golden.
  7. Blend the banana pieces with a tiny bit of milk. 
  8. Top the pancake with the ice-cream and serve!

Enjoy a healthy dessert to beat the summer in London!

xx

B


B’s Easy Guacamole (Avocado Spread) Recipe

HOLY MOLY – GUACAMOLE!

I’m trying to go back to my healthy eating regime.  It’s really a challenge with all the visitors that keep coming to London. No guest would like a bowl of salad for a meal or a healthy spread.  But since everyone’s gone for now – I can eat healthy again.

I made a guacamole spread as I had 2 avocados in the fridge and didn’t feel like eating them raw in salad. It’s really very easy for those of you who haven’t made it before!  I leave out onion and garlic just for the added simplicity.  However, you can fancy it up all you want!

Many people mash the avocado up but I prefer it to be a smoother paste.

I blended my ingredients to form a paste:

ImageThe creamy spread after I seasoned it:

Image

It was lovely!  Tasty and healthy vegetarian food, you can’t go wrong!

B’s Easy Guacamole (Avocado Spread)

Ingredients:

  • 2 avocados (ripened)
  • 4-5 cherry tomatoes
  • 1-2 tbsp lemon juice
  • 1/2 tsp cumin powder
  • Salt and Black Pepper to season

Method:

  • Mash avocado.  Put it into a blender/chopper with cherry tomatoes cut into halves.  Blend till its a creamy paste.
  • Remove into a bowl and season with lemon juice, cumin powder, salt and pepper!

So easy, so tasty, so… there’s just no excuse 🙂

xx

B

Foodie Fridays: Sago Custard

I’m going for a BBQ at a cousins’ house later in the evening – so thought I’d take something along, just because I’m quite nice that way 😉  Wanted to make something easy (ok so I’m not THAT nice 😉 but nice enough!) What was imperative was that I didn’t have to go hunting for ingredients.  I hate that.  My criteria for being nice was: something basic but tasty.  So I looked through my recipes and came across sago custard.  Sago Custard is a family recipe, my aunt’s to be precise.   I haven’t made it since I lived in Australia.  So really has been ages.

For those of you who have never made sago.  Don’t fear as B is here!  🙂  I’ll guide you step by step.

Firstly, you need sago (made from tapioca FYI) seeds!  If you need to go buy these little tapioca seeds, they look like this:

Image

Secondly: Boil water and add 1/4 cup sago seeds after water is boiling.  Leave it to simmer for 10 minutes.  Keep stirring so the starch content does not stick.

Image

It should like the above after 5-7 minutes.  Where you can still see white dots.  Keep simmering.  The aim is to make it translucent.  After 10 minutes, switch the heat off and cover with a lid for another 10 minutes.  It will then become completely translucent.

Thirdly:  Sieve it with running cold water to remove excess starch.  Keep aside.  The sago is ready to be added to the simple dessert.

Aunt’s SAGO CUSTARD

Makes: One bowl

Ingredients:

  • 2 cups of milk
  • 1/4 cup evaporated milk
  • 3-4 tbsp custard powder
  • 1/4 cup sago
  • 1/3 cup sugar
  • vanilla essence

Method:

  1. Boil milk and sugar.  Add evaporated milk.
  2. Dissolve custard in water.  Add mixture to milk.
  3. Add in pre-boiled and washed sago.
  4. Refrigerate to set.

**It is nice hot as well.  A good dessert for Winter!  I decorated it with strawberries – just cause its prettier that way!

Here’s the final product!  Hope everyone enjoys it at the BBQ 🙂

Image

xx

B

Foodie Fridays: Eggless Scones

I’ve really been wanting to eat home-made scones so thought I’d make them.  Last I baked them was a year ago in a friends’ baking birthday party.  It was actually an afternoon party where we bake what we eat (very smart of the host and I should incorporate this idea into my party planning) 🙂

I got this recipe from BBC FOOD and did not alter it – as I liked how it turned out!

Image

Yes its on my Paprika App, in case you’re wondering! 🙂  To make them eggless, follow the recipe through and at the end brush the scones with milk before baking.  It’s that simple.  Scones are faster and easier to make than cookies.  So get baking!

This is my baking process and the yummy end result:

Image

Image

I can’t decide if I prefer clotted cream then strawberry jam or the other way around.  So the next morning I had it in reverse.  Both were delish!  Dilemmas of a true foodie.

Another interesting way to eat it is with a spread of Nutella and Peanut Butter.  My husband is not a fan of cream + jam and has his scones topped that way.  Although,  I like my scones done traditionally – clotted cream with jam = heaven.  So the choice is yours!

Added Notes:

Recently, I’ve improved on my scones and created a new recipe which I absolutely love.  Check it out – Coconut Eggless Scones