B’s Oregano Cashew Spread

Hello everyone!  I’ve finally tried a cashew spread that I’ve become reading on vegan blogs forever…  Although, a Vitamix seems to do a much creamier job.  Maybe one day I’ll finally invest in on – or maybe I’ll win one! Haha!  There’s always a benefit to being optimistic.  Or maybe Vitamix will read this and want to give me one. OK SO MAYBE.


Image\

It kind of resembled Ricotta Cheese but a lot healthier 🙂

Image

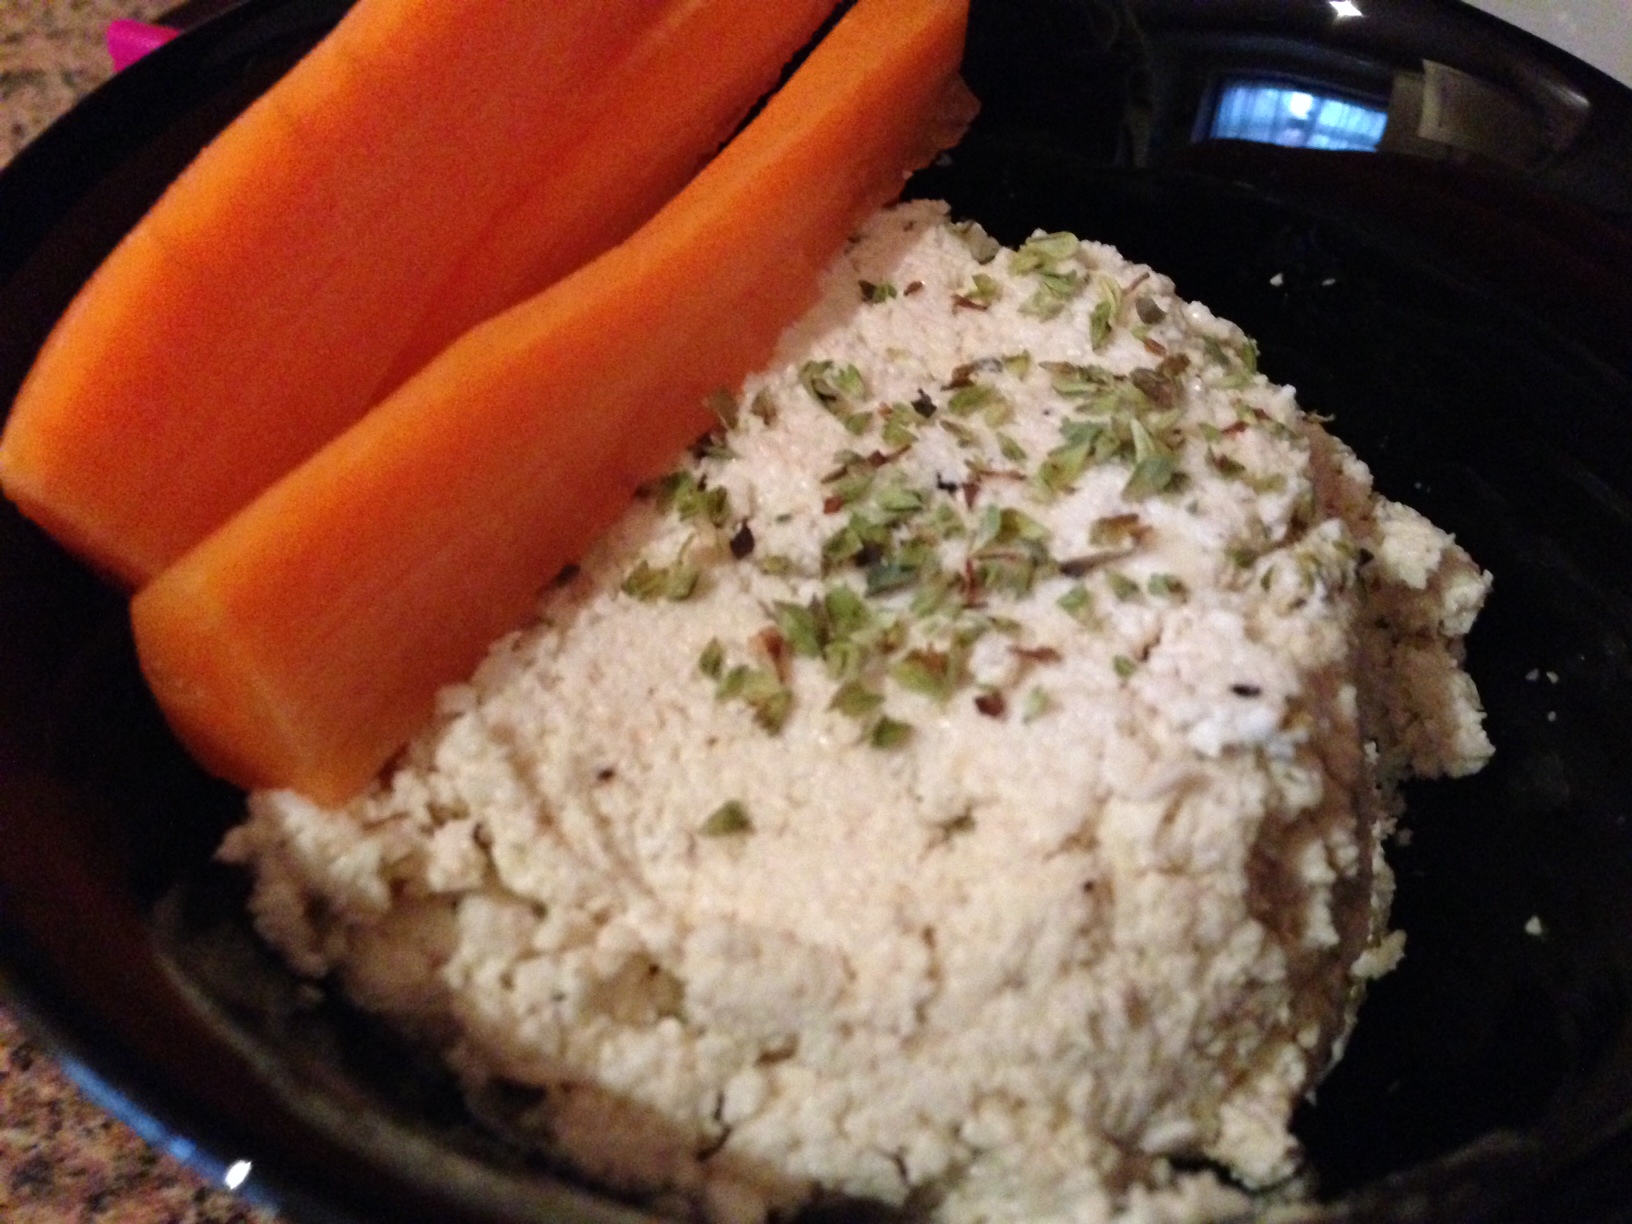
I’ve been using it as a dip for carrots 🙂


B’s Oregano Cashew Dip

Makes: Enough for 2-3 people as a side

Ingredients:

  • 3/4 cup of soaked cashews overnight
  • 1-2 tbsp of lemon juice (depends on preference)
  • 1-2 tbsp of water
  • 1 tsp or more of oregano
  • Salt, Pepper and any other seasoning you like!

Method:

  1. Put everything in a food processor.  
  2. Taste and add anything else you might want 🙂
  3. Refrigerate a few hours and store in an air-tight container.

Hope you enjoy this vegan dish!  I absolutely loved it as a healthy alternative.  It’s very easy too 🙂

xx

B

Advertisement

Easy & Vegan: Scrambled Tofu

Prior to being Vegetarian, one of my favourite combinations was scrambled egg with rice.  Growing up I used to have it like fried rice, more like butter-glistening rice with egg.  It was my go-to comfort food 🙂

I’ve now found a replacement to suit my new vegetarian lifestyle.  It’s been 10 years.  It’s definitely a commitment that I hope would be life-long.  So anyways!  I made tofu scramble for lunch yesterday, didn’t want it to have butter/oil or any fat.  So here’s a low fat, protein filled easy recipe.

But hold on – first have a sneak peak...

Image

It was yummy!  Packed with flavour and grilled asparagus on the side. 🙂

All you need is:

Image

B’s Tofu Scramble

Makes: Enough for 1 (or 2 if you are eating with something else on the side)

Ingredients:

  • 1 packet Firm Silken Tofu (refer to the picture)
  • Seasoning: Turmeric, Red Chilli Powder, Soya Sauce, Salt, Pepper

Method:

  1. Put the block of tofu in the pan.  Keep mashing it.  All the excessive water to evaporated.
  2. It usually takes around 5-7 minutes on high flame.
  3. Keep mashing.  When it is dry and resembles egg, start seasoning.
  4. Start off with some Turmeric (about 1/2 tsp) to give it an egg color.
  5. Add chilli powder, soya sauce, salt and pepper to taste.

Note: I like a lot of flavour, as a result I add a lot of seasoning.  Always remember that tofu, unlike egg is rather bland.  Season away!

Enjoy it with brown rice and a side or even on top of savoury waffles with sausages. (I have had that before too, and it was really good!) 🙂

Enjoy! 

xx

B

B’s Nutella Croissant Bread Pudding

Image

YUMMY.  This recipe came about one day when we didn’t have bread in the pantry but had croissants. We wanted bread pudding but didn’t have bread.  That just sounds ridiculous to not have the core ingredient!  Then I thought to myself – croissants would be a far better substitute.  The texture of croissants allow greater absorption of the creamy mixture and biting into that – would well be somewhat divine.  Bread pudding is already such a treat, can you imagine it with buttery croissants?  My husband LOVES NUTELLA.  He eats it from the jar.  That got me thinking…  Buttery croissant pudding with.. Nutella?  Better still, imagine it with oozing nutella. YUMMY.  So I set it out to make it right!

I’ve made this 2-3 times as its still a pretty new invention.  We had a poker night this weekend, so thought it was ideal for it.  🙂

Here’s the recipe for you to try out!

B’s Nutella Croissant Bread Pudding

Makes: 1 tray/pyrex

Ingredients:

  • 4 butter croissants
  • Nutella (as much as you desire!)
  • 700ml – 1 litre milk (depends how thick you want it)
  • 1 cup double cream
  • 1/3 cup sugar
  • 4 1/2 tbsp custard powder
  • Vanilla essence to taste

Method:

  1. Cut the croissants in half and put Nutella in the middle as a stuffing.
  2. Lay the Nutella prepared croissants in a dish.
  3. Beat together the milk, double cream, custard powder together.  Add the sugar and vanilla essence.
  4. Bake at 180 degrees for about an hour.

Enjoy this easy dessert with simple pantry ingredients!  xx

Foodie Fridays: Sago Custard

I’m going for a BBQ at a cousins’ house later in the evening – so thought I’d take something along, just because I’m quite nice that way 😉  Wanted to make something easy (ok so I’m not THAT nice 😉 but nice enough!) What was imperative was that I didn’t have to go hunting for ingredients.  I hate that.  My criteria for being nice was: something basic but tasty.  So I looked through my recipes and came across sago custard.  Sago Custard is a family recipe, my aunt’s to be precise.   I haven’t made it since I lived in Australia.  So really has been ages.

For those of you who have never made sago.  Don’t fear as B is here!  🙂  I’ll guide you step by step.

Firstly, you need sago (made from tapioca FYI) seeds!  If you need to go buy these little tapioca seeds, they look like this:

Image

Secondly: Boil water and add 1/4 cup sago seeds after water is boiling.  Leave it to simmer for 10 minutes.  Keep stirring so the starch content does not stick.

Image

It should like the above after 5-7 minutes.  Where you can still see white dots.  Keep simmering.  The aim is to make it translucent.  After 10 minutes, switch the heat off and cover with a lid for another 10 minutes.  It will then become completely translucent.

Thirdly:  Sieve it with running cold water to remove excess starch.  Keep aside.  The sago is ready to be added to the simple dessert.

Aunt’s SAGO CUSTARD

Makes: One bowl

Ingredients:

  • 2 cups of milk
  • 1/4 cup evaporated milk
  • 3-4 tbsp custard powder
  • 1/4 cup sago
  • 1/3 cup sugar
  • vanilla essence

Method:

  1. Boil milk and sugar.  Add evaporated milk.
  2. Dissolve custard in water.  Add mixture to milk.
  3. Add in pre-boiled and washed sago.
  4. Refrigerate to set.

**It is nice hot as well.  A good dessert for Winter!  I decorated it with strawberries – just cause its prettier that way!

Here’s the final product!  Hope everyone enjoys it at the BBQ 🙂

Image

xx

B

Olive and Cheese Breadsticks (Bisquick)

Just made dinner (Roasted Cherry Tomato Pasta) and thought homemade breadsticks would be the perfect side. I wanted something easy to be honest as I’m pretty tired.  Although saying that, compromising the taste is not an option for me. Bisquick. Quick being the key word was an effervescent moment.  This just seemed perfect.

I’d come across Betty Crocker’s Recipe a few days ago and tried it out today.

Image

It was simply delectable considering how easy it was.  It was more beautiful than my picture. It was definitely one of those moments – love at first bite.  You must try it out.

Olive and Cheese Breadsticks

Makes: About 15

Ingredients:

Method:

  1. Heat oven to 350°. Spray 2 cookie sheets with cooking spray. Stir Bisquick mix, milk, cheese and olives until soft dough forms. Place dough on surface dusted with Bisquick mix; gently roll in Bisquick mix to coat. Shape into a ball; knead 10 times.
  2. Divide dough into 15 equal parts. Roll each into a breadstick about 8 inches long. Place on cookie sheet.
  3. Brush milk over dough. Bake 11 to 14 minutes or until light golden brown. Serve warm with olive oil or marinara sauce for dipping.

**Note the recipe is exactly the same as the Betty Crocker link.  I’ve only changed brushing the breadsticks with egg to milk.  Now it’s completely vegetarian! 

Foodie Friday – Cheese Loaf

Yummm.  Did someone say cheese?  I absolutely love cheese. It’s so heavy and I always feel guilty but I LOVE IT.  Anything topped up with cheese is always a winner. Always.  So when I came upon this recipe, I had to give it a go.  I’ve never made bread before, so I wanted to try quick bread.  Quick breads are usually breads without yeast – thus no rising time involved and no need to knead. It’s quite a chore to knead with long nails anyways.  So I prefer not to!

Image

This is my Paprika Recipe. Found it on Betty Crocker and made a few amendments to suit me.  Firstly, I substituted egg to make it vegetarian.  Also, I didn’t have any pepper-jack cheese so I used a mixture of cheddar and red leicester.  The appetizing color of red leicester made the loaf hard to resist.  I’ve always lived by the saying “you first eat with your eyes”.  As a result, I like the food to first LOOK GOOD. That brings about the phrase “you look good enough to eat” – inextricably web of phrases that make a lot of sense!

Image

The picture speaks my thousand words. Undeniably delicious!  Nothing beats a loaf freshly out of the oven, except for a cheesy loaf.  I personally loved it.  Though it was very heavy for two people.  So make sure to give away half to your neighbors as a kind gesture and to prevent becoming fat alone.

Cheers to the weekend!

x

B