B travels.
In Ireland do as the Irish do! Wear a leprechaun hat, just because you want to. Walk around in green the whole day because you want to celebrate St. Patricks Day but are just a few months late. Just.. HAVE FUN! That’s what we did!

Just because I am a serious person who takes life far too seriously. 😉 HAHA! I actually try to adhere to the aphorism “Don’t take life too seriously, it’s not like we’re going to get out of it alive anyways.” I’ve met some people who are far too gloomy and make the sunshine seem grey. Really not my sort of thing! Try to put LIFE in LIFE and LIVE. I did that in Dublin. Walked around like a looney and had tons of fun! Ok, so many people assumed I was drunk. It happens when you try to be high on life.
Dublin is a bustling city with surrounding beautiful nature. I was there on a family trip with cousins, aunts, and my husband. It was a nice mix of company and ambience.
We stayed at Louis Fitzgerald Hotel (4 Star) and very reasonable priced from lastminute.com. I would highly recommend it as the rooms very comfortable, there was free wifi and it was air-conditioned. However, my cousins would disagree as they argued with the manager (long story). So I won’t get into the technicalities of that as it had to do with noise control. We were a tiny bit noisy. 😉
Places to see in Dublin:
- Main city centre (very much like London actually)
- Ha’penny Bridge over the Liffey River – beautiful for pictures. There are many love padlocks here to symbolise undying love of a couple. You can put one too! Though I didn’t!
- Trinity College – pretty college to stroll along. It’s near the city centre so you can simply walk there. We met a friend from that college to show us around.
- Temple Bar- the bar that holds a Guinness World Record of 114 hours and 30 minutes of guitar playing. You go DAVE! Yes, so we went there to see this famous bar. It was bustling. I don’t drink but it was worth seeing the atmosphere.
- Day tour from Dublin – I highly recommend to do one! You get to experience nature like never before.
We did the Connemara Day Tour. We left the hotel really early as we had to be in the city centre at 6.30 am. This is an early start, especially for someone like me. I stress about waking up early. All my university classes were always late as I simply could not do early mornings. Therefore, if someone like me is highly recommending waking up early, it must be completely worth it. The tour lasts 12 hours in which you pass through Galway to make your way to Connemara. A boat tour is also included in the tour package of around 38 Euros per person.
This was the breath taking view of Connemara (the place where the romantic movie PS. I LOVE YOU was shot):
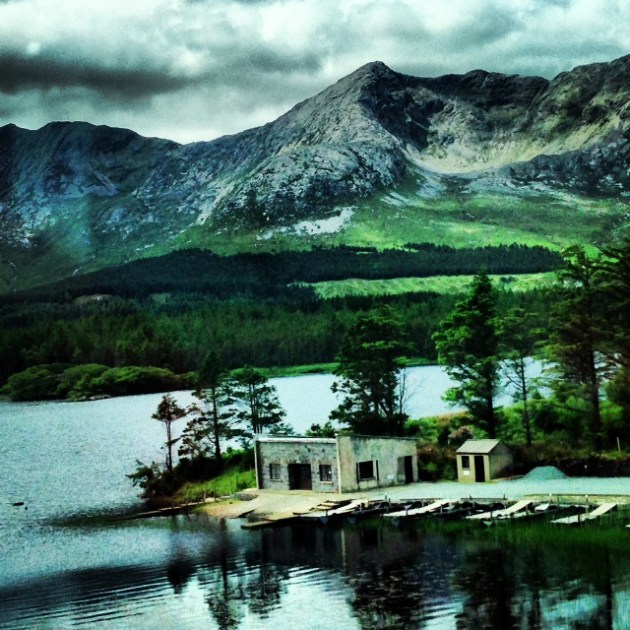 It resembled a beautiful postcard. The photography-freak in me could not help but keep clicking pictures. Some on our DSLR camera and some on my iPhone to whatsapp my family and friends who were missing out. The view was really breath-taking.
We stopped in Galway and were free to roam around for an hour in the small town. We grabbed something to eat and were back on the coach.
All in all, it was beautiful. I even saw a beautiful sunset! I love sunsets – there’s just something about the sun setting that gives me peace. The beauty it exudes lights up the sky and then in a moment it’s dark. Sunsets are mystical in my opinion. There’s just something about them that I can’t describe as words do not seem to do justice to it.
 This was taken on my iPhone and was edited with just one filter on Instagram.
Like any holiday, it becomes a memory that is etched in your heart. The adventure that it entails is a story for one to always tell.
Dublin was a wonderful memory!
xx
B
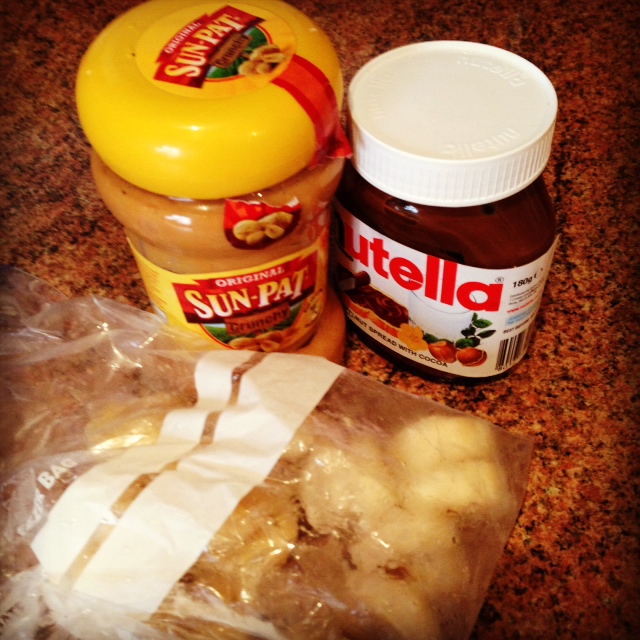
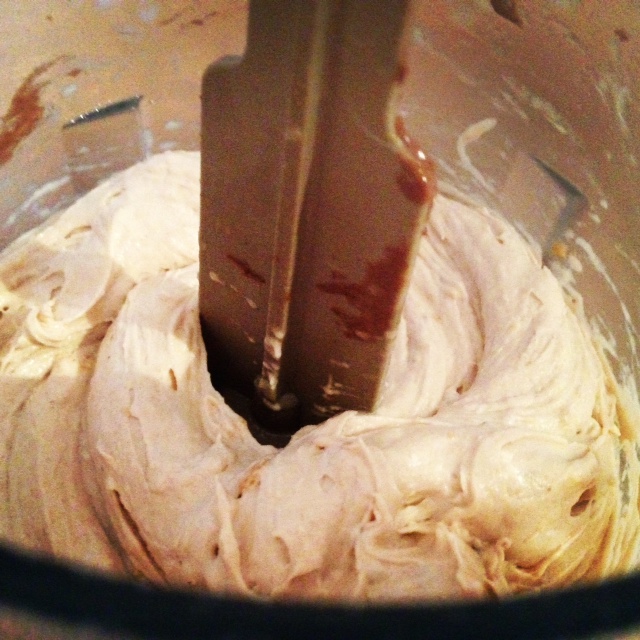
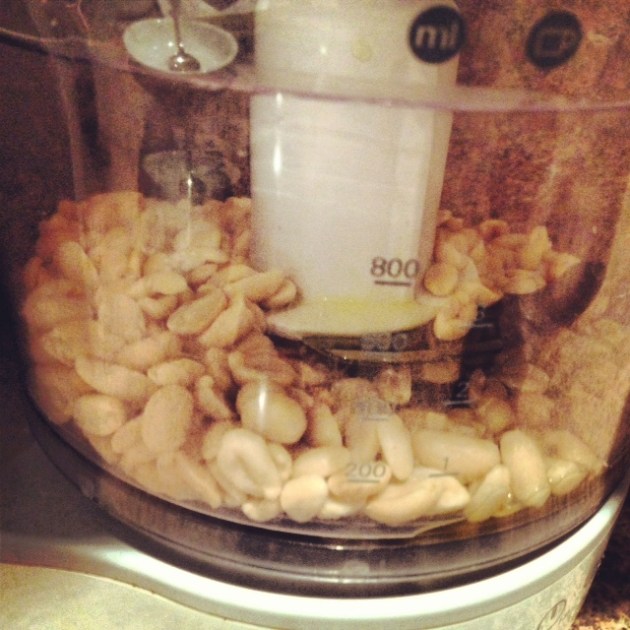 Blend ingredients together for around 5-10 minutes depending on the power of your food processor.