B’s Quick & Healthy Hummus Recipe

Hello everyone!  I’ve restarted my gym regime which means just one thing: time to zip my mouth to everything tempting.  Hmmm… Or so you would think.  I’ve decided to try out healthy dips and snacks that are still tempting minus the high calorie count.  Today I tried out my very own hummus recipe.  Basically most recipes online for hummus incorporate a high level of olive oil.  Fair enough, in the restaurants it is served that way – but if I eat my carrot sticks in an oil based dip, what good is it really?

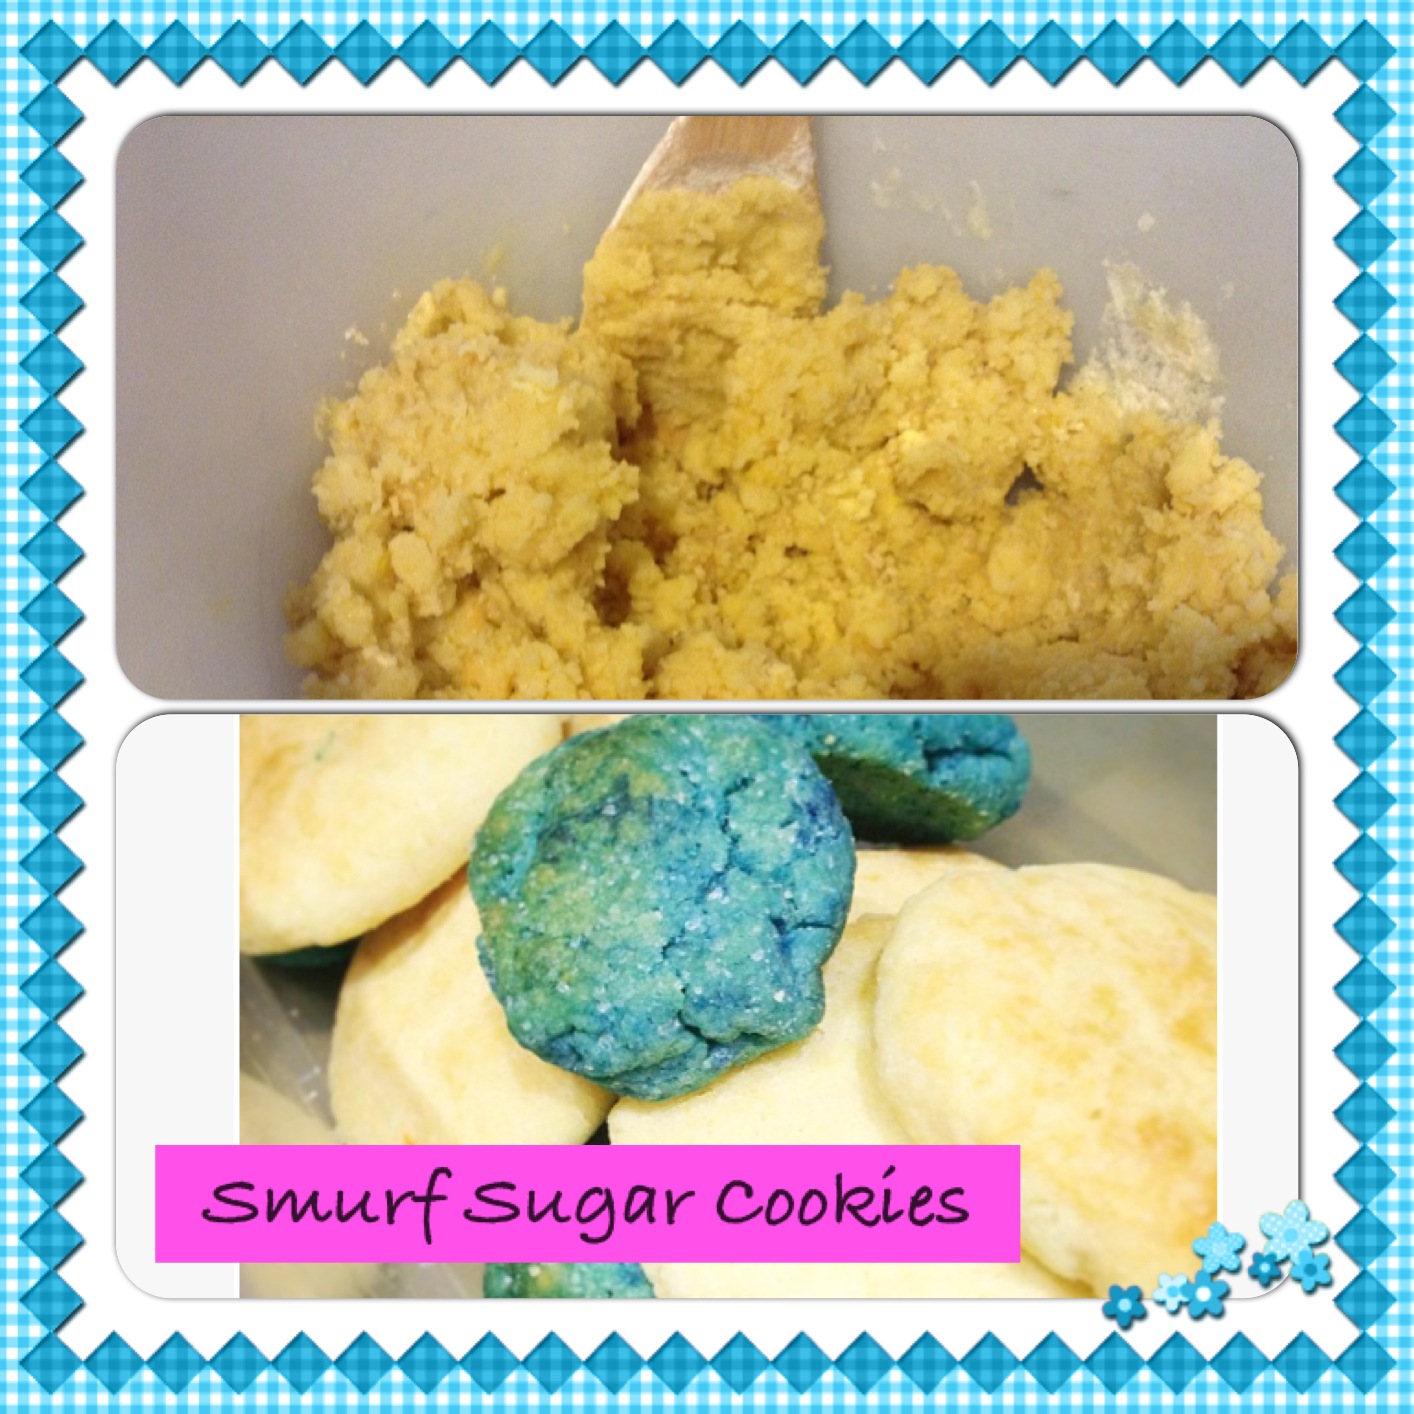
Mixing everything up to form a smooth creamy paste:

Image

And the final product:

Image

Here’s my recipe:

B’s Quick & Healthy Hummus Recipe

Makes: One bowl

Ingredients:

  • 1 can chickpeas
  • 1 tbsp olive oil
  • Pinch of chilli flakes/paprika
  • 1 tsp cumin powder
  • 3-4 tbsp water
  • 1 tbsp lemon juice
  • Salt and Pepper to taste

Method:

  1. Spoon chickpeas from the can instead of draining.  The liquid adds flavour!
  2. Add all ingredients and blend away 🙂

Note:  Adjust the consistency to your preference by adding more or less water.  Best served chilled – I refrigerated it for 15 mins. I couldn’t wait any longer! 🙂

Enjoy!!

xx

B

Poha! – Flattened Rice

Poha – an unusual name that reminds me of Po  (The Teletubbies). Eh-oh! Oh God, I feel as though I have come from a completely different era, at the thought of the song.  Yes, it is playing in my head right now.  What a drag.

Anyways,  today I tried a new dish and wanted to blog about it 🙂  I made Poha, a south-indian lunchtime dish made from flattened rice.

It’s easily available in Asian Supermarkets in the Indian section.  My sister mentioned this dish to me after her trip to South India (Kerela) and said it was very easy to make.  In addition, it’s nutritious which led me to giving it a go.  The recipe below is a rough guide as I made it up as I went along (kind of like how indian fried rice is made).  Feel free to adjust the flavours and quantities as you like.

B’s Simple Poha

Makes: Enough for 4 people

Ingredients:

  • 1 medium sized flakes Poha packet (300g or so)
  • 1 onion
  • 2 tomatoes
  • 1 green chilli
  • 1 cup of okra
  • 1 big potato
  • 1 heaped tsp Ghee/butter/oil
  • Indian Spices: Cumin seeds, Curry powder, Red Chilli Powder, Cumin Powder, Garam Masala Powder, Turmeric Powder
  • Peanuts

Method:

  1. Preparation: Put Okra in the oven for 20 mins.  And par-boil the potato.
  2. Heat ghee in pan then add 1 tsp of cumin seeds for 1 minute. Then add chopped onions.  Saute on low fire for about 8 mins until onions are cooked.
  3. Add chopped tomatoes to the onions and saute.  Add a bit of water to cook the tomatoes.  Add 1 chopped green chilli to the mixture.
  4. Cook for about 5 minutes till a mixture forms (Steps 1-3 are the same for any indian cuisine FYI).
  5. Now add all the indian spices to taste.  Stir it, allowing mixture to absorb all the flavours.
  6. Cut both the okra and potato in bite-size pieces.  Add this to the mixture.
  7. Lastly, rinse the poha and drain it slightly.  Add to the pan and mix.  If it is a bit dry and some water while mixing as it tends to absorb water like rice.  Adjust flavours according to taste.
  8. Serve hot with peanuts on top for the extra crunch.

Note:  We had this with a side portion of cucumbers and yoghurt.  Also, I made daal (indian lentil soup) to supplement the meal.

Here’s a picture of my POHA! (Yes, I’m very much entertained by the name.  As I typed it in caps it reminded me of my ALOHA! post. 🙂  hahaha POHA!)

Image

Cheers to Poha! Let me know if you try it out.

xx

B

Foodie Fridays: B’s Quorn Teriyaki Steak Sushi

I absolutely LOVE sushi.  I guess being brought up in Japan does have something to do with that.  Japanese food is definitely an acquired taste.  However, in recent years the growing exposure to different cuisines has played a huge role in people experimenting with different flavours.  Japanese food is now everywhere.  Being vegetarian, the variety of sushi is limited in restaurants. 😦  Anyways, when you have a creative mind and hands that are willing to get dirty (dirty with food is always ok, not with mud. There’s a difference! I’m not an outdoor-hiking-kind fyi) then there’s no limit!

Having a love for aesthetics, the food I eat has to look as good as it tastes.  The taste is always takes precedence though, I will never compromise on taste.  Saying that, I would compromise on it just if it is very unhealthy and I’ve just come back from cardio. The cliche aphorism works well for me – health is wealth.

Ok, so you got the point.  The fact that the sushi looks impeccable and it is healthy makes it a winner.  Here’s a picture of the sushi I made:

Image

Please stare at it in awe as I did.  My husband thought it was very professional!  And I got tons of likes on Facebook and Instagram which boosted my ego.  Small things make me happy.  Happiness then leads to big things 🙂  So try being happy with small things in life, don’t just wait for the big things as they might not come and you’ll end up being a grumpy-old lady by then! I’ve met many, and boy are they unpleasant.

Back to Sushi –  just went slightly off tangent there.

B’s Quorn Teriyaki Steak Sushi Recipe

Makes: 3 rolls of Sushi (about 24 sushis – depending on the size) 

Ingredients:

  • 1 1/2 cups Japanese Rice
  • 6 Tbsp Sushi Rice Seasoning
  • Teriyaki Sauce
  • 1 Cucumber, cut in strips
  • Quorn Steak Strips (half the packet)
  • 3 Nori Sheets

Method:

  1. Cook rice in a rice cooker.  Japanese rice takes less water than normal rice, so be sure to check the instructions. The ratio of the rice I use is 1 cup rice to 1 1/3 cup water. Let the rice cool down, don’t refrigerate it.
  2. In the meantime, pour a bit of teriyaki sauce in a pan and cook steak strips.  Add water as needed, but make sure the end result is sticky steak and not watery.
  3. Add seasoning to the rice.  If you like it more on the sour side, add more.
  4. Oil Sushezi a bit before putting the rice inside, and follow instructions.  See the video- that’s what I did as this was my first attempt!
  5. Put cucumber on one side of your rice mixture, and the Quorn Strips on the other.
  6. Place glossy side of Nori downwards, and you’re ready to roll.
  7. Use water as a glue for the end of the Nori.  Refrigerate the roll for a while, then cut the sushi.  And put the cut pieces back in the fridge.  Sushi is best served cold with Japanese ginger and Wasabi.

Note:  Hands might get sticky with rice.  Keep bowl of water nearby and dip your hands in often to remove stickiness.To remove stickiness of knife when cutting sushi,  I like dipping knife in water after each cut.  Keeps the sushi clean and pretty!

Enjoy! Itadakimasu (いただきます)!  Have I mentioned I speak/read/write Japanese?  Ok so I do.  Not as well as before though, as I don’t have much practice anymore!

The phrase above translates to Bon Appetite 🙂

Foodie Fridays: Sugar Cookies

My little sis baked for my husband sugar cookies for me to bring back for him. Heart warming gesture. He completely adores this 10-year-old from Singapore.

And so do I.  Baking with a kid just makes the experience so much more fun.  🙂

While baking the night before my flight – I snuck in bites of cookie dough.  I’ve always loved the dough more than the actual cookie.  Although, in this case – this recipe is quite debatable as the thought of both make my mouth water.

So we baked eggless sugar cookies that came out yummy.  She had found a recipe online and we modified it a bit.  Hope you enjoy them 🙂

Warning: Sugar High might be on a High!

Eggless Sugar Cookies

Bakes 30-35 cookies (depending on size) 

Ingredients:

  • 1 stick salted butter
  • 1 cup sugar
  • 1 egg = 1/4 cup carnation milk + 1 tsp custard powder
  • 2 tsp vanilla extract
  • 4 cups flour
  • 1 tsp baking powder

Method:

  1. Preheat oven to 350F.
  2. In a bowl, mix together butter and sugar using a beater.  Beat in egg replacement.
  3. Using a wooden spoon, stir in flour and baking powder.
  4. Refrigerate dough for an hour.
  5. Mix dough up again – as it might be a bit dry.  Make into small balls and flatten.
  6. Bake for 8-10mins on a cookie sheet (I always use cookie sheets – no greasing needed!)  Take cookies out when a bit golden on the top.  Do not over bake as it’s best when its neither not too soft and not too crisp.

Note:  Cookie does not spread, so you can bake many at one go.  With this recipe I noticed  that two trays were suffice.

*Baby Sis wanted to call them Smurf cookies – so she added blue colouring to some of the dough 😉

Image

Aloha! Mom’s 50th Birthday Pineapple Fried Rice

Just a little hello from Hawaii. Ok not quite. I’m back home in London.

I just got back from Singapore yesterday.  Surprisingly, I missed blogging. It’s weird as I’m still a new member of this blogging community. 🙂

I had a heart-warming trip back home – meeting close family and friends as we celebrated my Mom’s 50th birthday!  We threw a Hawaiian-themed party.  My mom’s favourite holiday destination has always been Hawaii. We have been there 8 times together as a family when we lived in Japan (pretty awesome, huh?) Honestly, as a child exploring Hawaii was nothing less than a fairy tale.  Beautiful beaches, hotels, luas, and culture.  I vividly remember swimming with dolphins in Waikoloa Hilton! I was just 11 years-old and was in exuberance.  Hawaii is a must-see.  Add it to your bucket list if its not there yet 🙂

I love beautiful decor. I love aesthetics. I love all things bright and beautiful! So I enjoyed shopping for decor thoroughly.  I’m thinking of having an e-shop for decor, so will let you guys know if that idea falls through.  As having family business we have access to a whole sale shop – thus the price I buy at, is much much cheaper than a normal retail shop.  So if I do sell to individual people online, whilst I’d be making a marginal profit – the consumer still pays much less than retail price! It’s a win-win!

Some pictures to illustrate our theme:

Image

We attempted to make pineapple fried rice – which turned out pretty exotic.  However, the one that I ate in Hua Hin was still better! I am in desperate need to find the secret ingredient!  I googled a few recipes and some suggest adding curry powder, so I may try that in the future.  My sister created this recipe FYI!

A quick overview of the recipe – nothing was actually measured, so go with the flow!

 Pineapple Fried Rice (Quick and Easy for a Party!)

Ingredients:

  • 1 onion
  • Some veggies (your choice!)
  • Cooked rice
  • Oil
  • A full pineapple
  • Seasonings: salt, pepper, chilli powder, light soya sauce, dark soya sauce , curry powder

Method:

1) Sauté some onions with oil.  Add your choice of finely chopped vegetables

2) Add salt, pepper, soya sauce, chilli powder to the mixture

3) After vegetables are cooked well and flavoured to taste (I’d suggest curry powder as well) add cooked rice and mix well.

4) Cut pineapple in half and scoop out the filling neatly.  Cut pineapple into desired size and throw in the fried rice and mix.

5)  Serve the fried rice in the pineapple half!

Here’s the picture of her result:

Image

I was very impressed with the presentation of this dish!  It really added to the

mise-en-scene of the party for sure.  Let me know how it goes if you try it out!

Foodie Friday – Cheese Loaf

Yummm.  Did someone say cheese?  I absolutely love cheese. It’s so heavy and I always feel guilty but I LOVE IT.  Anything topped up with cheese is always a winner. Always.  So when I came upon this recipe, I had to give it a go.  I’ve never made bread before, so I wanted to try quick bread.  Quick breads are usually breads without yeast – thus no rising time involved and no need to knead. It’s quite a chore to knead with long nails anyways.  So I prefer not to!

Image

This is my Paprika Recipe. Found it on Betty Crocker and made a few amendments to suit me.  Firstly, I substituted egg to make it vegetarian.  Also, I didn’t have any pepper-jack cheese so I used a mixture of cheddar and red leicester.  The appetizing color of red leicester made the loaf hard to resist.  I’ve always lived by the saying “you first eat with your eyes”.  As a result, I like the food to first LOOK GOOD. That brings about the phrase “you look good enough to eat” – inextricably web of phrases that make a lot of sense!

Image

The picture speaks my thousand words. Undeniably delicious!  Nothing beats a loaf freshly out of the oven, except for a cheesy loaf.  I personally loved it.  Though it was very heavy for two people.  So make sure to give away half to your neighbors as a kind gesture and to prevent becoming fat alone.

Cheers to the weekend!

x

B

Technology Tuesdays: Paprika (Recipe Manager App)

Today’s app – PAPRIKA.  My favorite Recipe App!Image

Hello there!  Hope you all had a wonderful weekend.  Weekends we mainly eat out and try different restaurants.  Or we go to the same restaurant and end up ordering exactly the same thing to avoid disappointment!  Sounds ironic but when you get to one of your favorite restaurants, you know exactly what would satisfy you and the risk of a new dish is almost frightening.

Weekdays we eat at home, which means I get to show-off my culinary skills or the lack of. haha! Which brings me to today’s featured app – Paprika.  It’s actually the only app I use for recipes.  I usually download mainly free apps unless the paid app proves to be very useful.  I’m quite frugal when it comes to apps (not so when it comes to designer handbags).  We have to save somewhere! 🙂  This app is usually $4.99 and you can check it out here: http://www.paprikaapp.com/blog/ (apparently there’s a sale at the moment!)

Firstly, the APP lets you search for recipes from all over the web through your internet browser.  It also provides suggested supported sites which are very useful.  I especially like to go to AllRecipes and BettyCrocker.   However. there are times I like to go to other sites and Paprika gives me this flexibility.  When you come upon a recipe that you would like to save – instead of a snapshot, it will save it in a uniform template into your recipe organizer.  Prior to this app, I used to snapshot what I liked and had to go through my photo gallery frantically when I was about to try something new.  That was pretty inefficient and time consuming.  Now I am able to save, categorize and store in an effective manner.

Sometimes, you come across a site that is not supported by this app as it cannot differentiate the text in the blog from the recipe.  There is toolbar at the bottom of this app that overcomes this problem.  You are able to manually copy the ingredients, method, title and store it in the template where you can then save.

Image

The picture above is a snapshot of my Paprika Recipes.  This demonstrates the way in which my recipes are stored.  There is a search button on the top which allows the users to search their own saved recipes.  Also, you are able to save your own recipes in the same format to add to this collection.

Secondly, if technology isn’t quite your “thing”, it allows you to print recipes so you can have them in a recipe file if that’s how you are used to storing them.  I have to admit, that I print some of my recipes instead of taking my iPad or iPhone in the kitchen with me all the time.

The last feature that this app is able to do is – plan meals.  Frankly, I do not use this feature much as I rather plan my recipes weekly.  Also – my husband sometimes doesn’t quite like sticking to the plan and has spontaneous food cravings.  🙂  Eitherway, the picture below shows how this feature can be used.

Image