Foodie Fridays: Sugar Cookies

My little sis baked for my husband sugar cookies for me to bring back for him. Heart warming gesture. He completely adores this 10-year-old from Singapore.

And so do I.  Baking with a kid just makes the experience so much more fun.  🙂

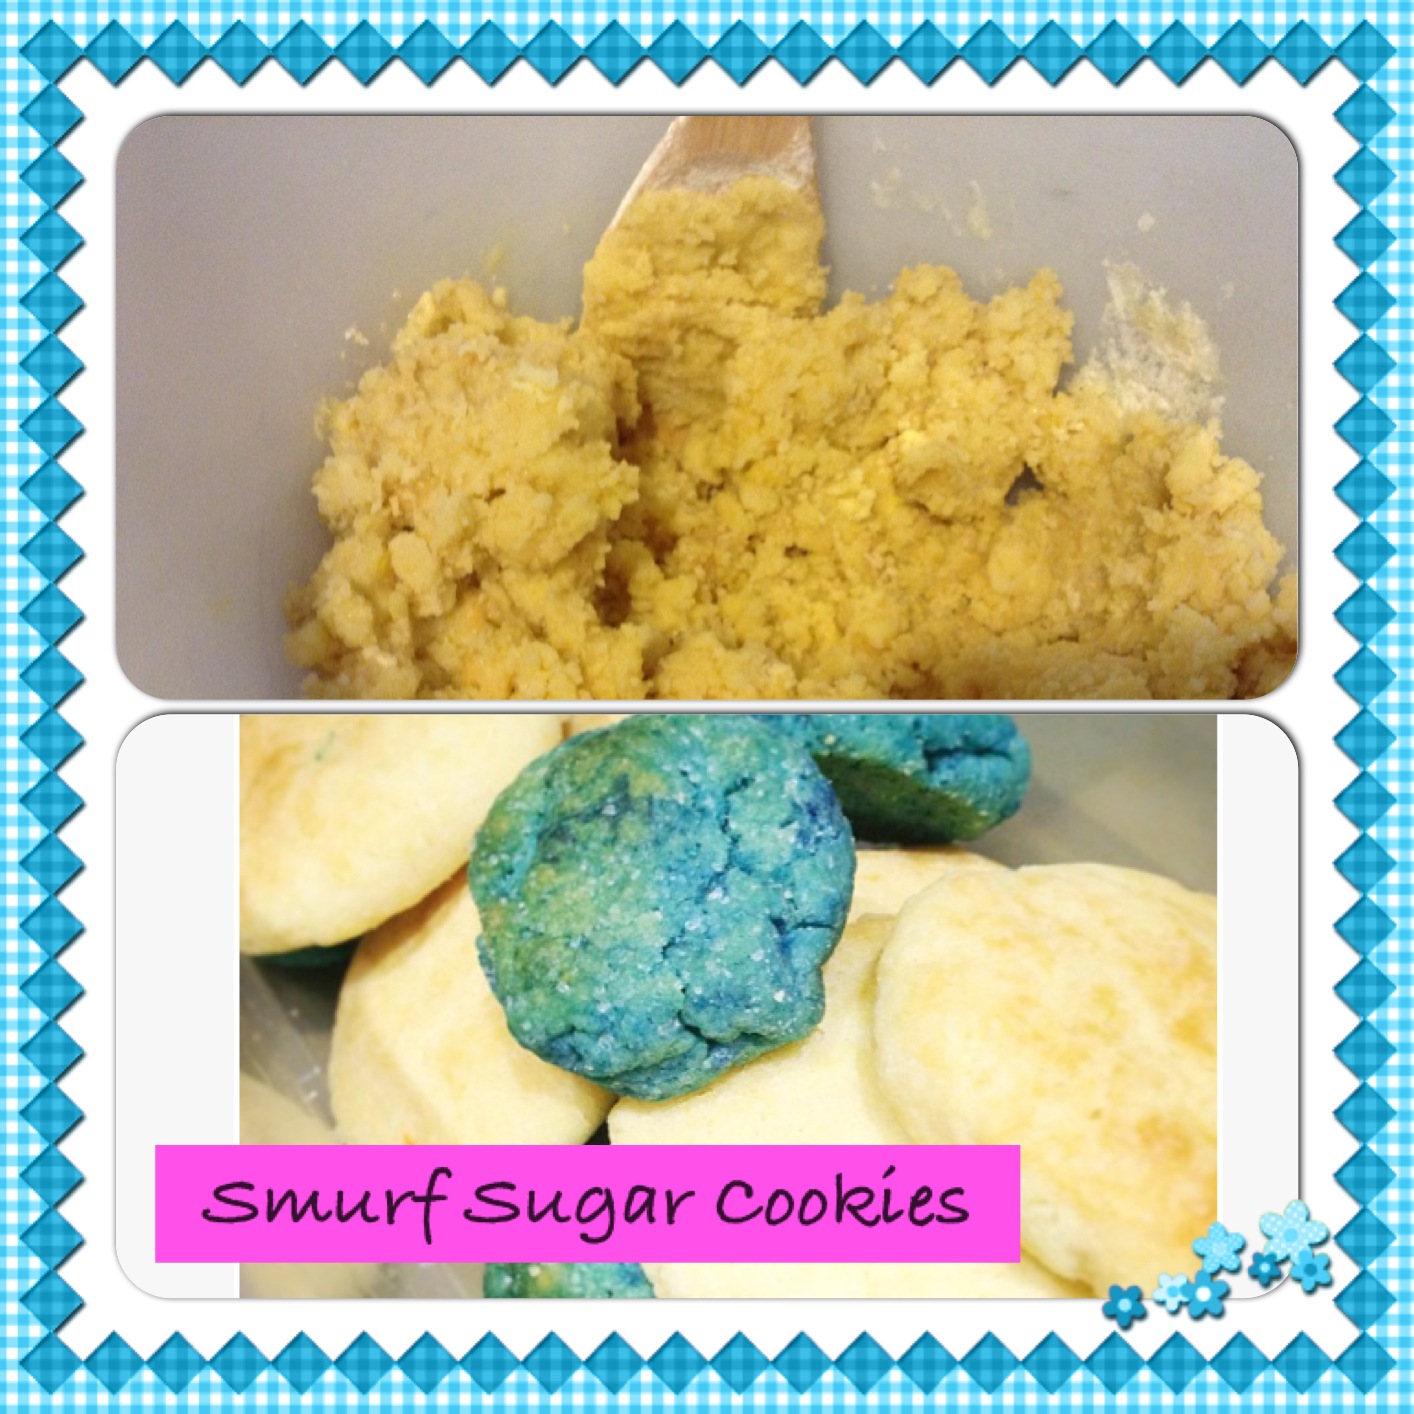
While baking the night before my flight – I snuck in bites of cookie dough.  I’ve always loved the dough more than the actual cookie.  Although, in this case – this recipe is quite debatable as the thought of both make my mouth water.

So we baked eggless sugar cookies that came out yummy.  She had found a recipe online and we modified it a bit.  Hope you enjoy them 🙂

Warning: Sugar High might be on a High!

Eggless Sugar Cookies

Bakes 30-35 cookies (depending on size) 

Ingredients:

  • 1 stick salted butter
  • 1 cup sugar
  • 1 egg = 1/4 cup carnation milk + 1 tsp custard powder
  • 2 tsp vanilla extract
  • 4 cups flour
  • 1 tsp baking powder

Method:

  1. Preheat oven to 350F.
  2. In a bowl, mix together butter and sugar using a beater.  Beat in egg replacement.
  3. Using a wooden spoon, stir in flour and baking powder.
  4. Refrigerate dough for an hour.
  5. Mix dough up again – as it might be a bit dry.  Make into small balls and flatten.
  6. Bake for 8-10mins on a cookie sheet (I always use cookie sheets – no greasing needed!)  Take cookies out when a bit golden on the top.  Do not over bake as it’s best when its neither not too soft and not too crisp.

Note:  Cookie does not spread, so you can bake many at one go.  With this recipe I noticed  that two trays were suffice.

*Baby Sis wanted to call them Smurf cookies – so she added blue colouring to some of the dough 😉

Image

Pad Thai

Hello everyone!

In the midst of packing – I made a scrumptious Thai meal (Vegetarian Pad Thai).  Easy to whip up for busy days.  Thought I’d share it before going since my flight is pretty late at night anyways.  I made extra so my husband can have it for lunch tomorrow.  I’m nice like that. 🙂 So- voila!

photo (3)It’s actually just a rice-noodle stir fry with Thai flavours infused in it.  Very popular in Thailand 🙂

So here’s how I made it – hope you like it too!  I actually don’t have it on Paprika since I don’t use a recipe for it.  It’s my own version. 🙂

YUMMY-VEGETARIAN PAD THAI (for 2)

Ingredients:

  • Rice noodles (1/2 packet)
  • Tofu (1/2 packet)
  • Bean sprouts
  • Chives – cut into small pieces
  • Roasted peanuts – grind
  • Seasoning: Red chilli powder, Light Soya Sauce, Dark Soya Sauce, Brown Sugar, Salt, Lemon Juice, Cut Red Chilli

Method:

  • Soak rice stick noodles in hot water for about 10-15 minutes until they are soft.  Rise off.
  • Pan-fry the tofu in big squares.  Cut them up into little pieces after and keep aside.
  • Put some oil in the pan, throw in all the ingredients except for peanuts.
  • Stir fry everything together and add the seasoning.
  • Season to taste
  • Guidelines of my seasoning to my taste (lol):  About 1 tsp red chilli, you can cut some red chilli on the side too.  Around 2 tsp of light soya sauce and a bit more of dark to give it a nice color. Keep trying as you go along as there are different brands which have a distinct flavour.  I put about 3 tbsp of brown sugar (quite a lot!)  And I just put a tiny bit of salt (since soya sauce is salty).  I put about 2-3 tsp of lemon juice.
  • Lastly, add peanuts and garnish with cut red chili.  Enjoy!

**Basically my tip with seasoning would be to keep trying as you go along till you are happy with the taste.  I personally do not take too much spice. It’s meant to have a sweet-salty-spicy flavour!

Good luck and happy cooking!

XX

B

Foodie Fridays : Afternoon Tea

Image

So there I was, gracefully stuffing my face with scones and tea.

My love for food extends to tea.  London’s traditional Afternoon Tea is the icing or rather clotted cream to my scone.  One of the perks of living here!  I met a friend on Wednesday in the city to catch up over tea.  We both love Afternoon Teas and have tried various ones around the city.

The picture above illustrates the beautiful way in which we were served.  I especially liked the modern three tiered serving style as opposed to the traditional type.  We went to Marylebone Hotel.

There was a vast variety of tea.  I enjoyed the citrus lemon tea and the hibiscus fruit tea the most.  My friend indulged in Earl Grey.  The tea was unlimited in case you were wondering.  We were both given a variety of sandwiches and they catered to my veterinarian request with a variety (grilled veggies, cream cheese and chives, mozzarella with vine tomatoes).  I was satisfied.  However,  I simply could not make it to the top.  The second tier was my limit, and I knew the next day I had to go for my workout without any excuses.

Let’s have a moment of silence for my over-indulgence.

X
B

Technology Tuesdays: Paprika (Recipe Manager App)

Today’s app – PAPRIKA.  My favorite Recipe App!Image

Hello there!  Hope you all had a wonderful weekend.  Weekends we mainly eat out and try different restaurants.  Or we go to the same restaurant and end up ordering exactly the same thing to avoid disappointment!  Sounds ironic but when you get to one of your favorite restaurants, you know exactly what would satisfy you and the risk of a new dish is almost frightening.

Weekdays we eat at home, which means I get to show-off my culinary skills or the lack of. haha! Which brings me to today’s featured app – Paprika.  It’s actually the only app I use for recipes.  I usually download mainly free apps unless the paid app proves to be very useful.  I’m quite frugal when it comes to apps (not so when it comes to designer handbags).  We have to save somewhere! 🙂  This app is usually $4.99 and you can check it out here: http://www.paprikaapp.com/blog/ (apparently there’s a sale at the moment!)

Firstly, the APP lets you search for recipes from all over the web through your internet browser.  It also provides suggested supported sites which are very useful.  I especially like to go to AllRecipes and BettyCrocker.   However. there are times I like to go to other sites and Paprika gives me this flexibility.  When you come upon a recipe that you would like to save – instead of a snapshot, it will save it in a uniform template into your recipe organizer.  Prior to this app, I used to snapshot what I liked and had to go through my photo gallery frantically when I was about to try something new.  That was pretty inefficient and time consuming.  Now I am able to save, categorize and store in an effective manner.

Sometimes, you come across a site that is not supported by this app as it cannot differentiate the text in the blog from the recipe.  There is toolbar at the bottom of this app that overcomes this problem.  You are able to manually copy the ingredients, method, title and store it in the template where you can then save.

Image

The picture above is a snapshot of my Paprika Recipes.  This demonstrates the way in which my recipes are stored.  There is a search button on the top which allows the users to search their own saved recipes.  Also, you are able to save your own recipes in the same format to add to this collection.

Secondly, if technology isn’t quite your “thing”, it allows you to print recipes so you can have them in a recipe file if that’s how you are used to storing them.  I have to admit, that I print some of my recipes instead of taking my iPad or iPhone in the kitchen with me all the time.

The last feature that this app is able to do is – plan meals.  Frankly, I do not use this feature much as I rather plan my recipes weekly.  Also – my husband sometimes doesn’t quite like sticking to the plan and has spontaneous food cravings.  🙂  Eitherway, the picture below shows how this feature can be used.

Image